Due to an accident my parents‘ house had temporarily to be made as wheelchair-accessible as possible. Temporarily because the wheelchair was only neede for a couple of weeks. This once again showed that no education is wrong – especially, when it is about technical skills. Thanks, college for mechanical engineering!
First step: Adding support handles to the toilet so that sitting down and getting up is made easier (or better: made possible at all). A major specification was that everything is built in a way that it can be removed traceless afterwards. I could have mounted the support handles to the wall directly, but who wants to habe wholes in the wall and be reminded of the accident for the rest of all times?
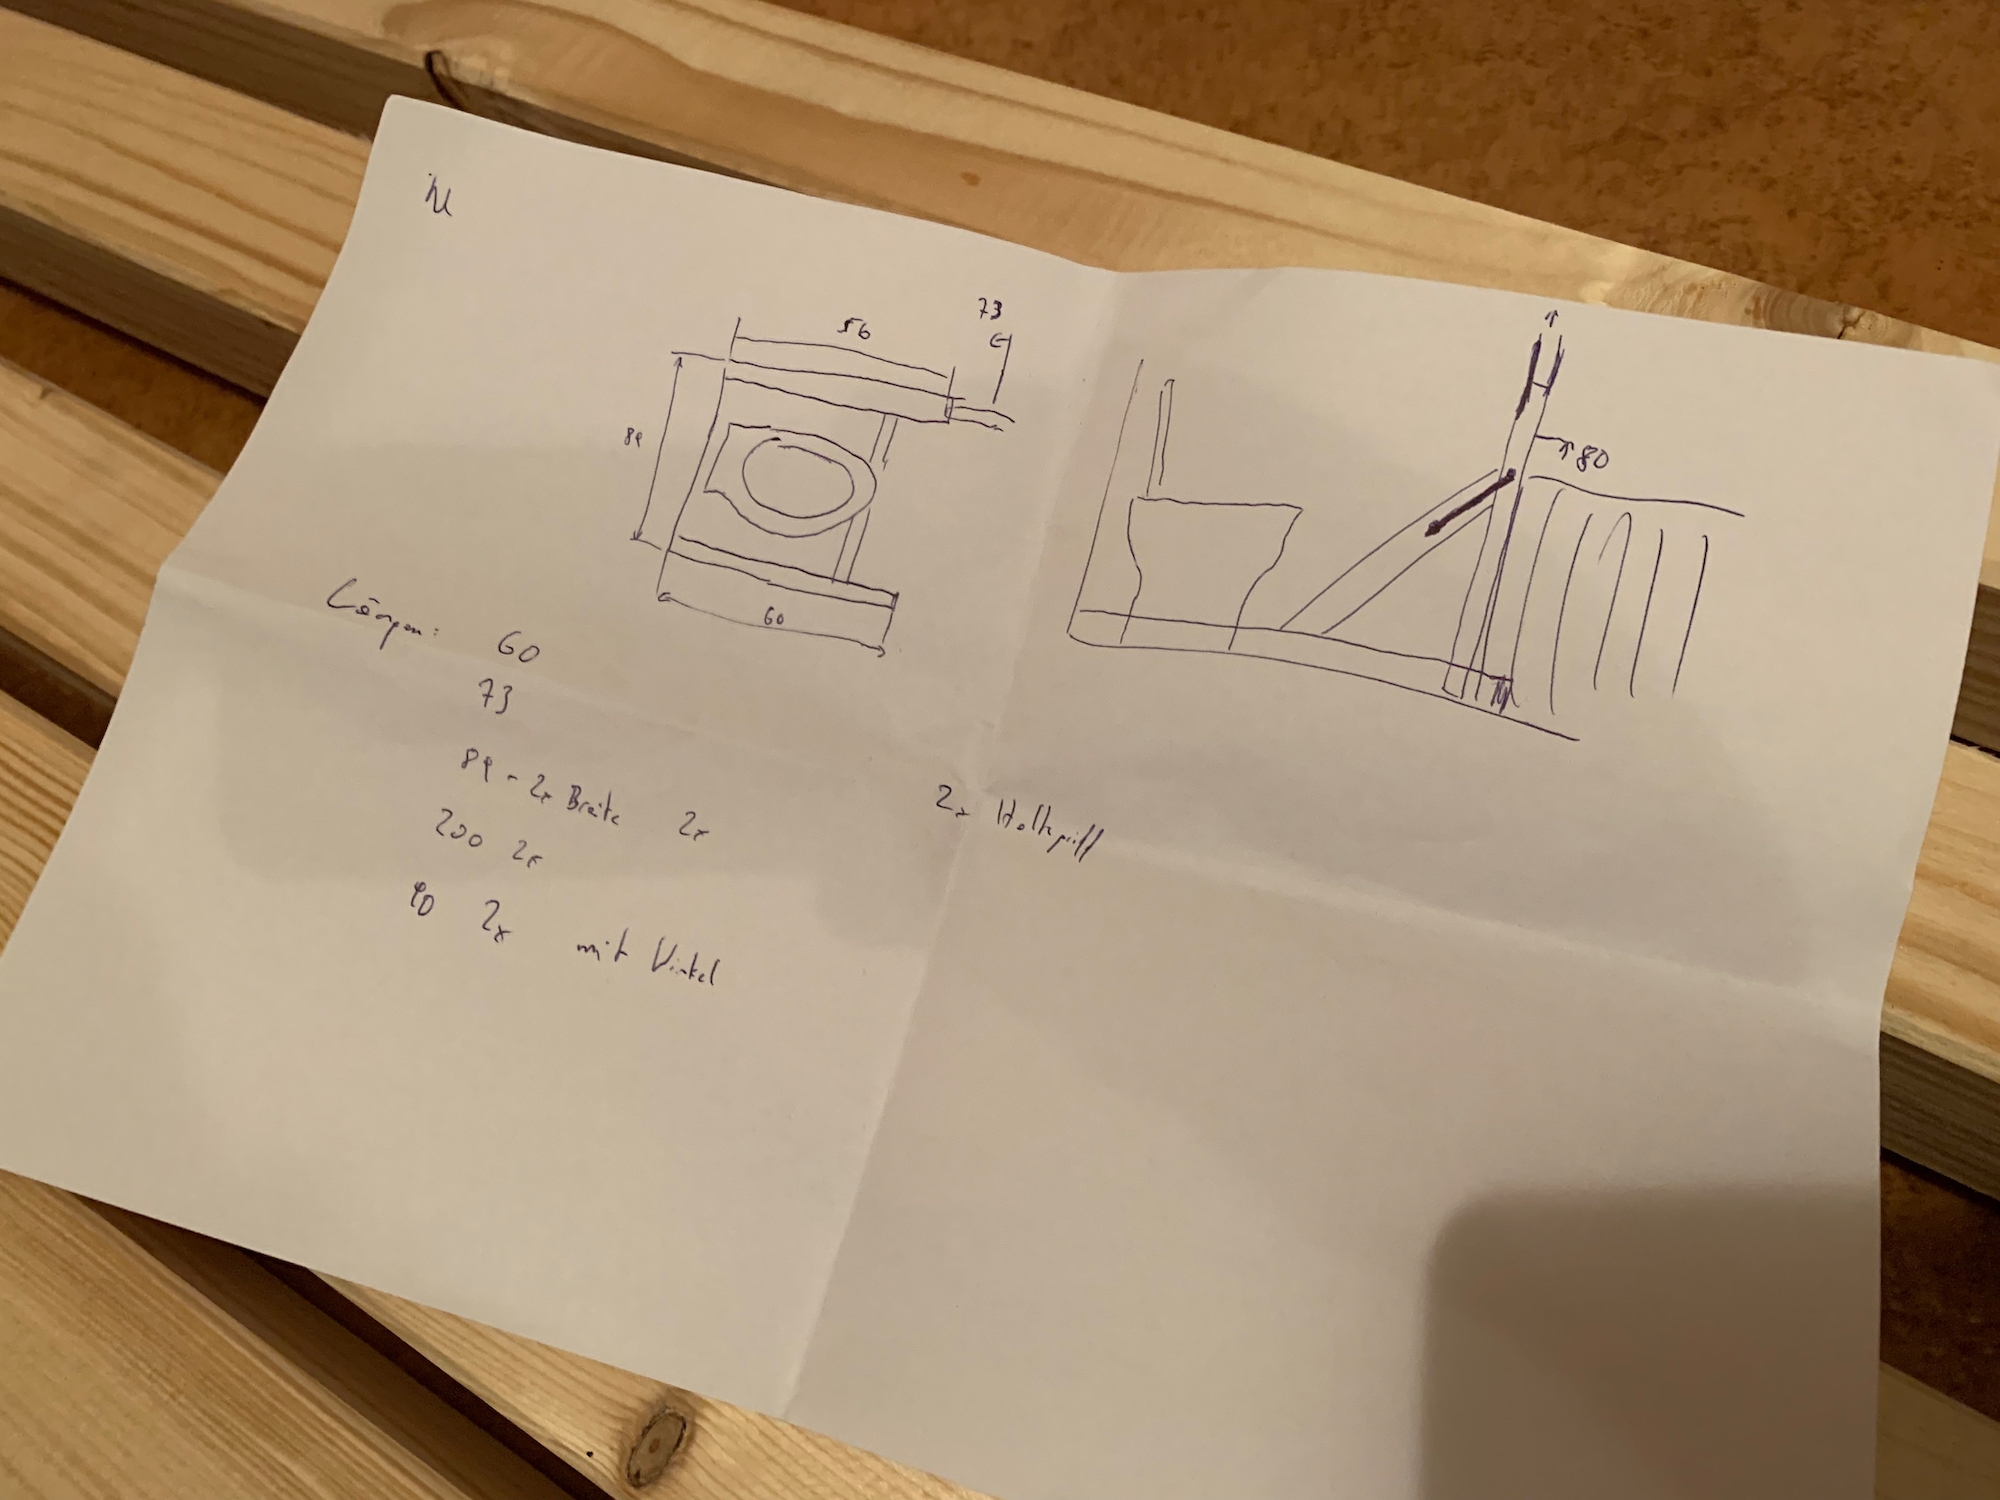
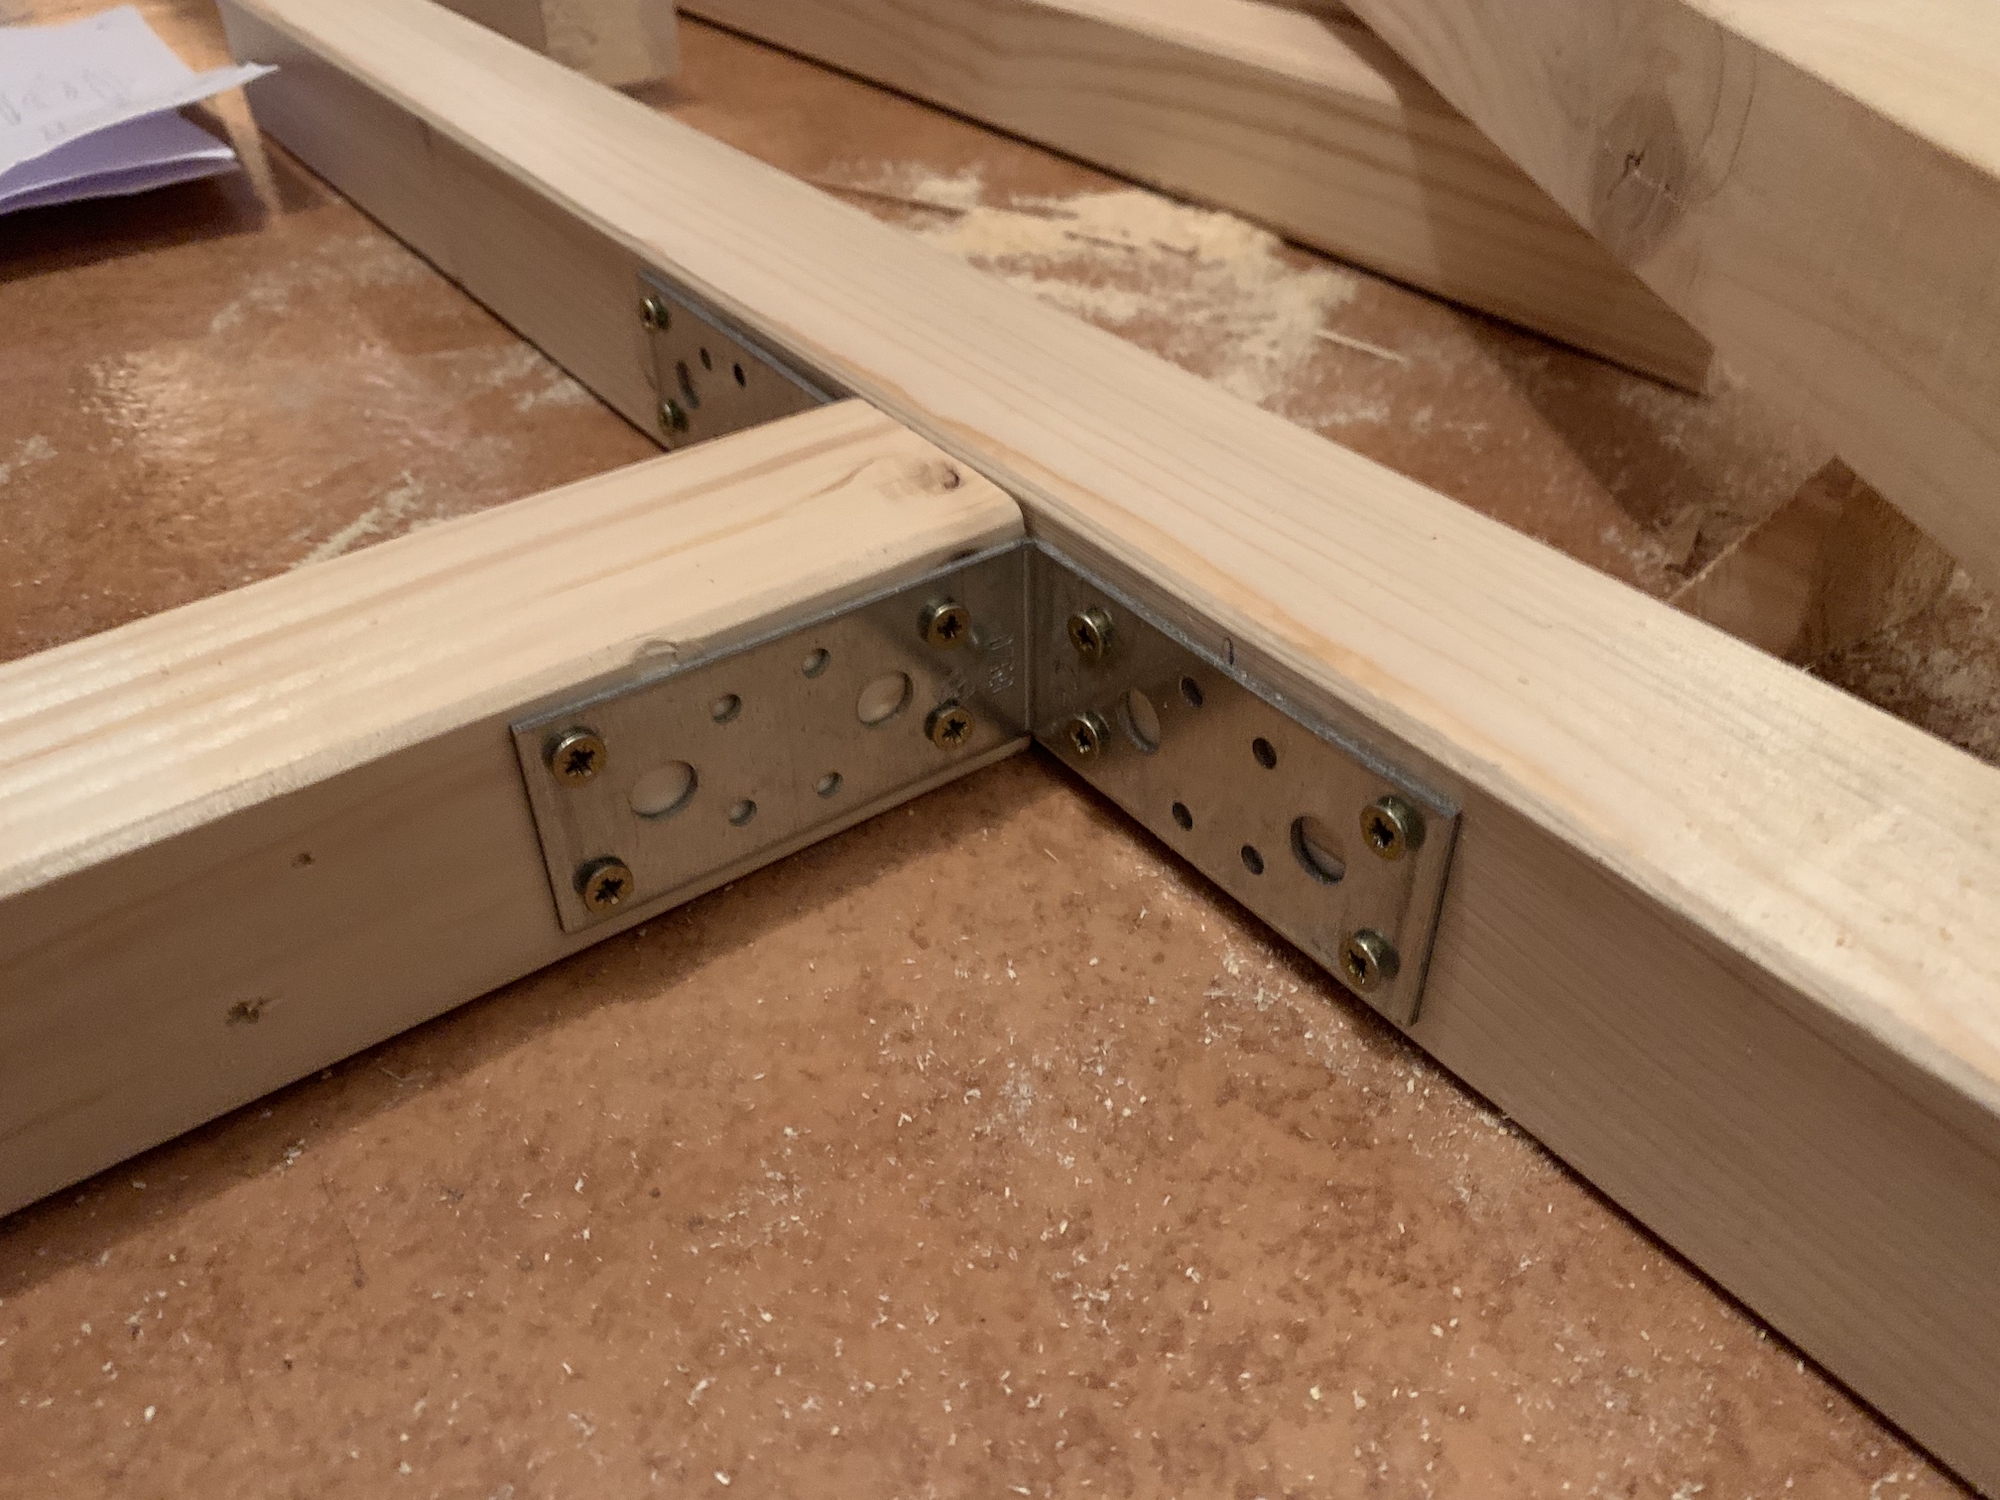
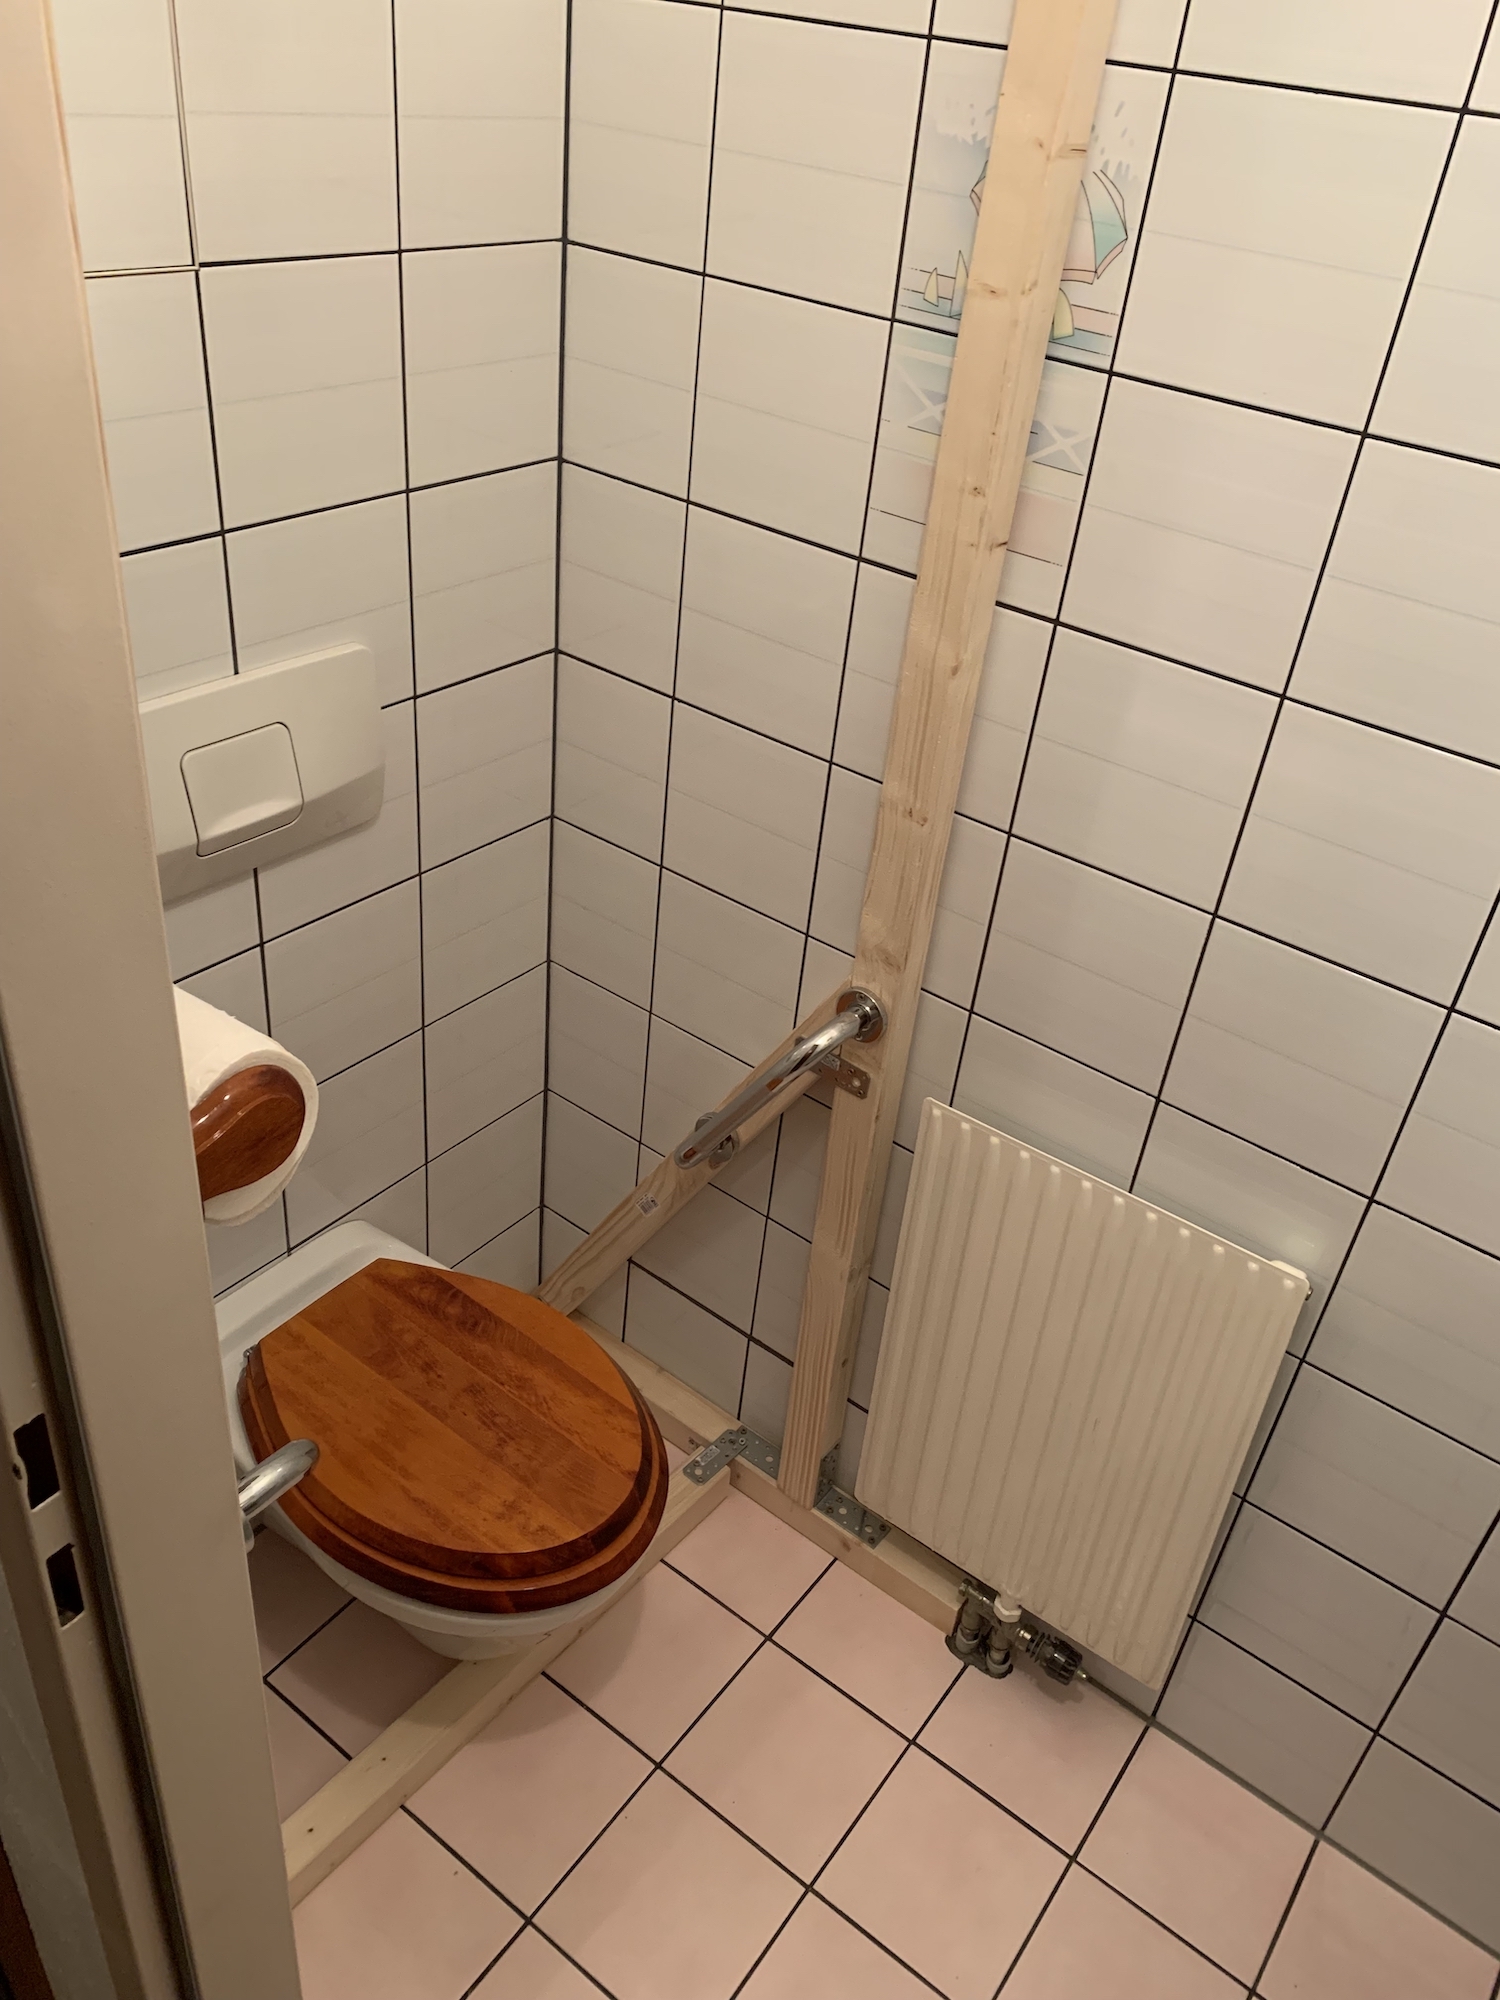
After a five-minute-planning-phase (dear college teachers: sorry for the bad sketch) I chose a self-reinforcing frame made out of wooden bars (45x45mm) connected by metal brackets and SPAX screws.
As support handles I used the cheapest bathtub handles from the DIY store I could find (no need for fancy stuff here) and mounted them in an angle (as this provides the best support for getting up).
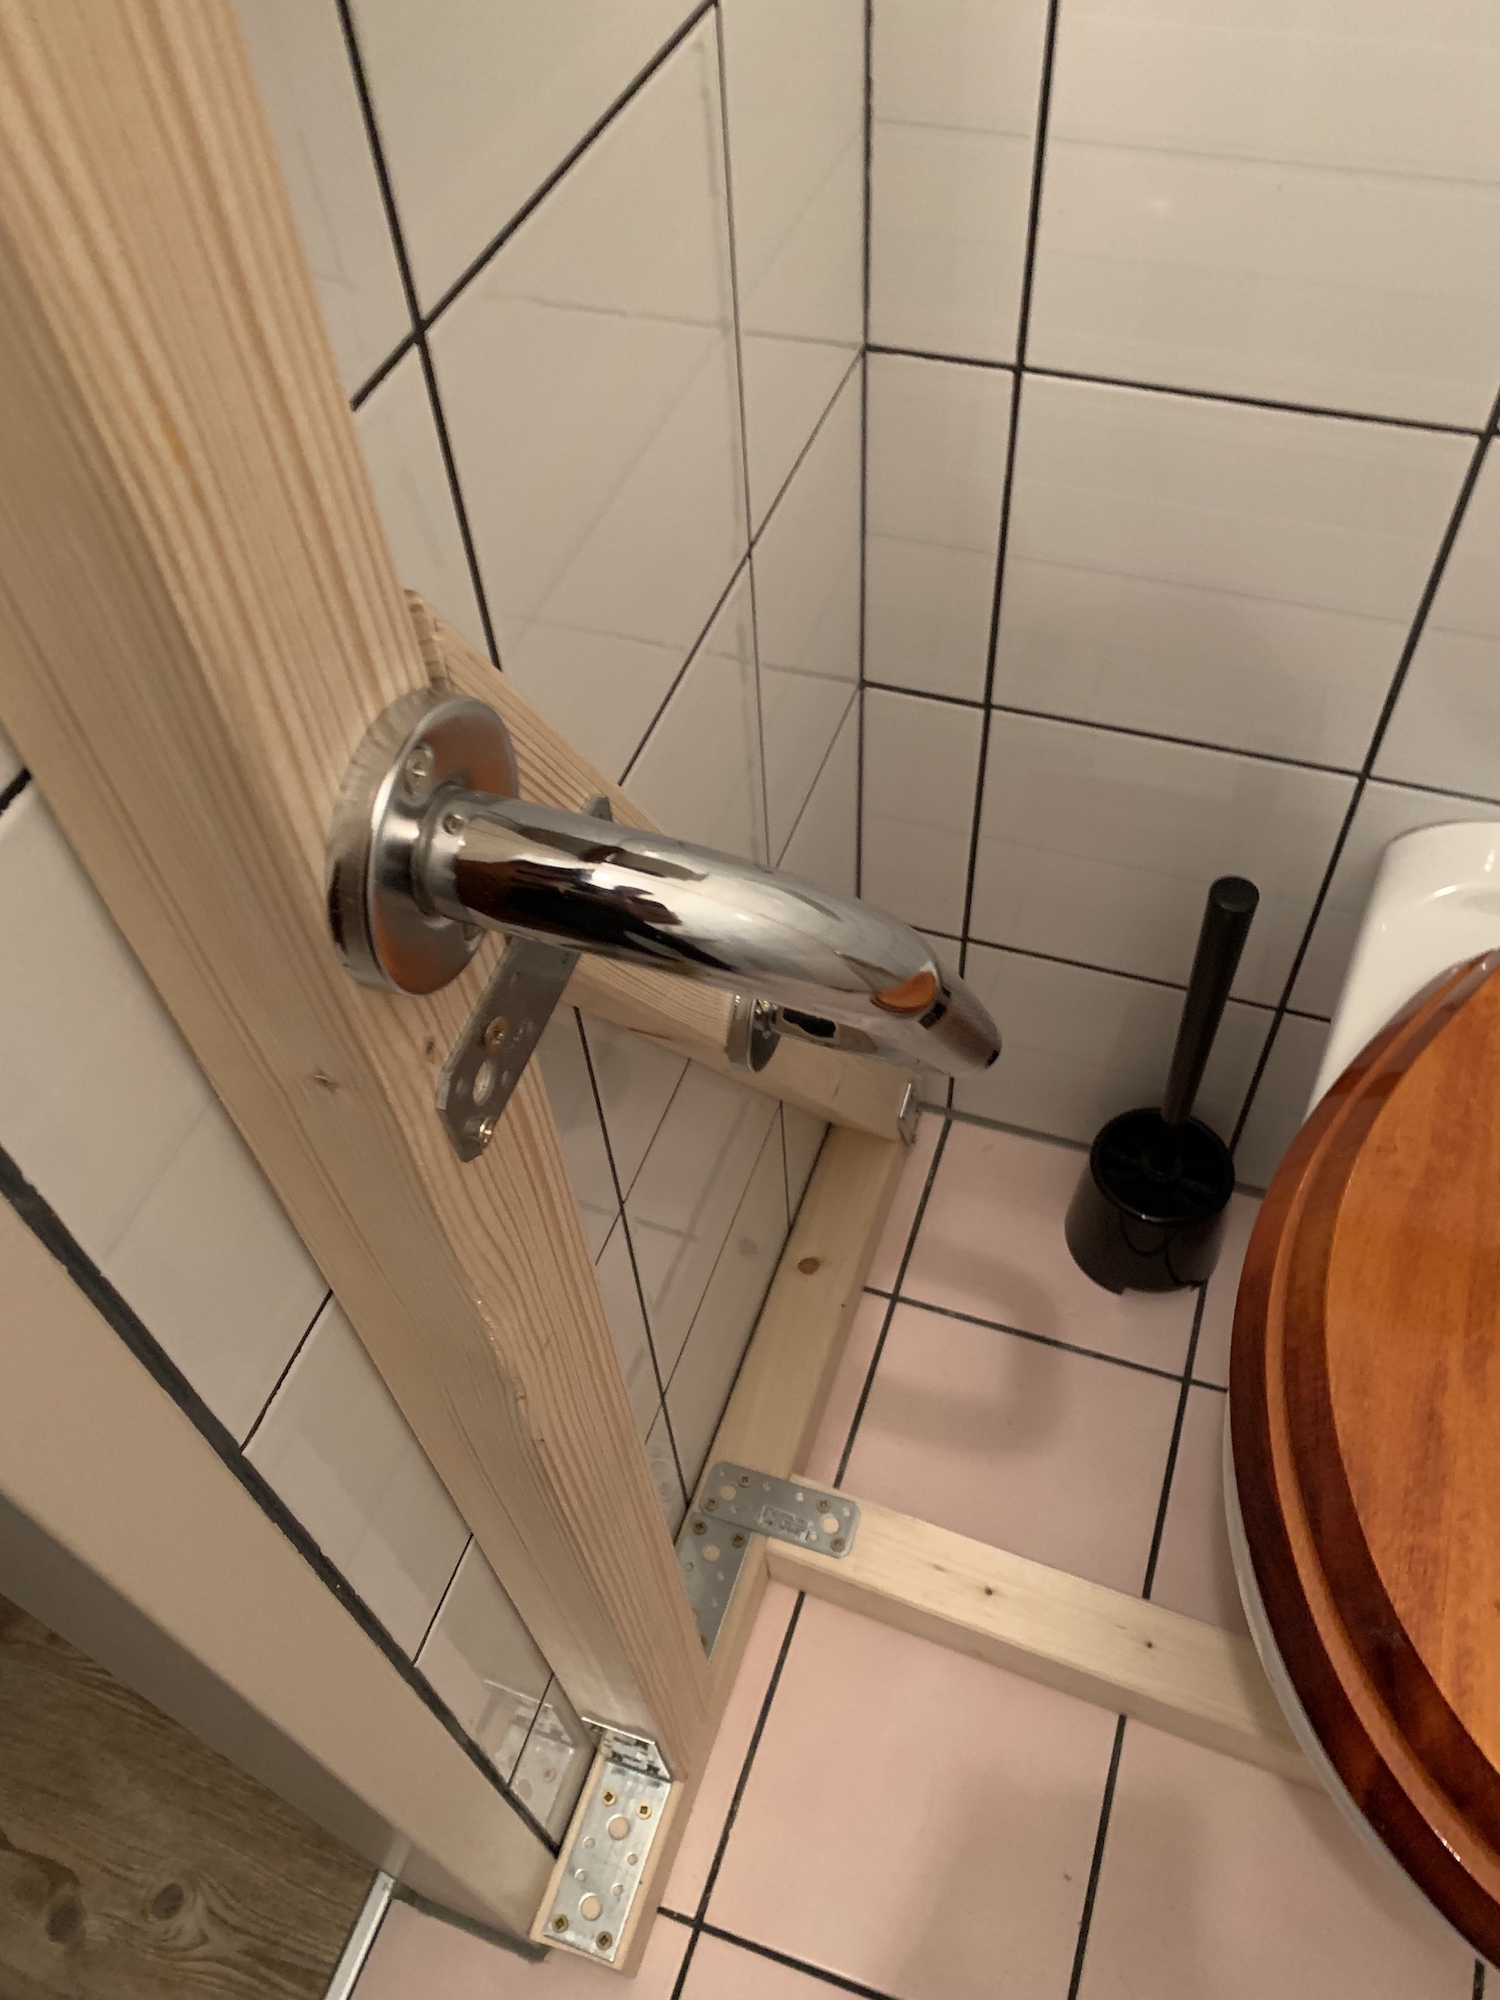
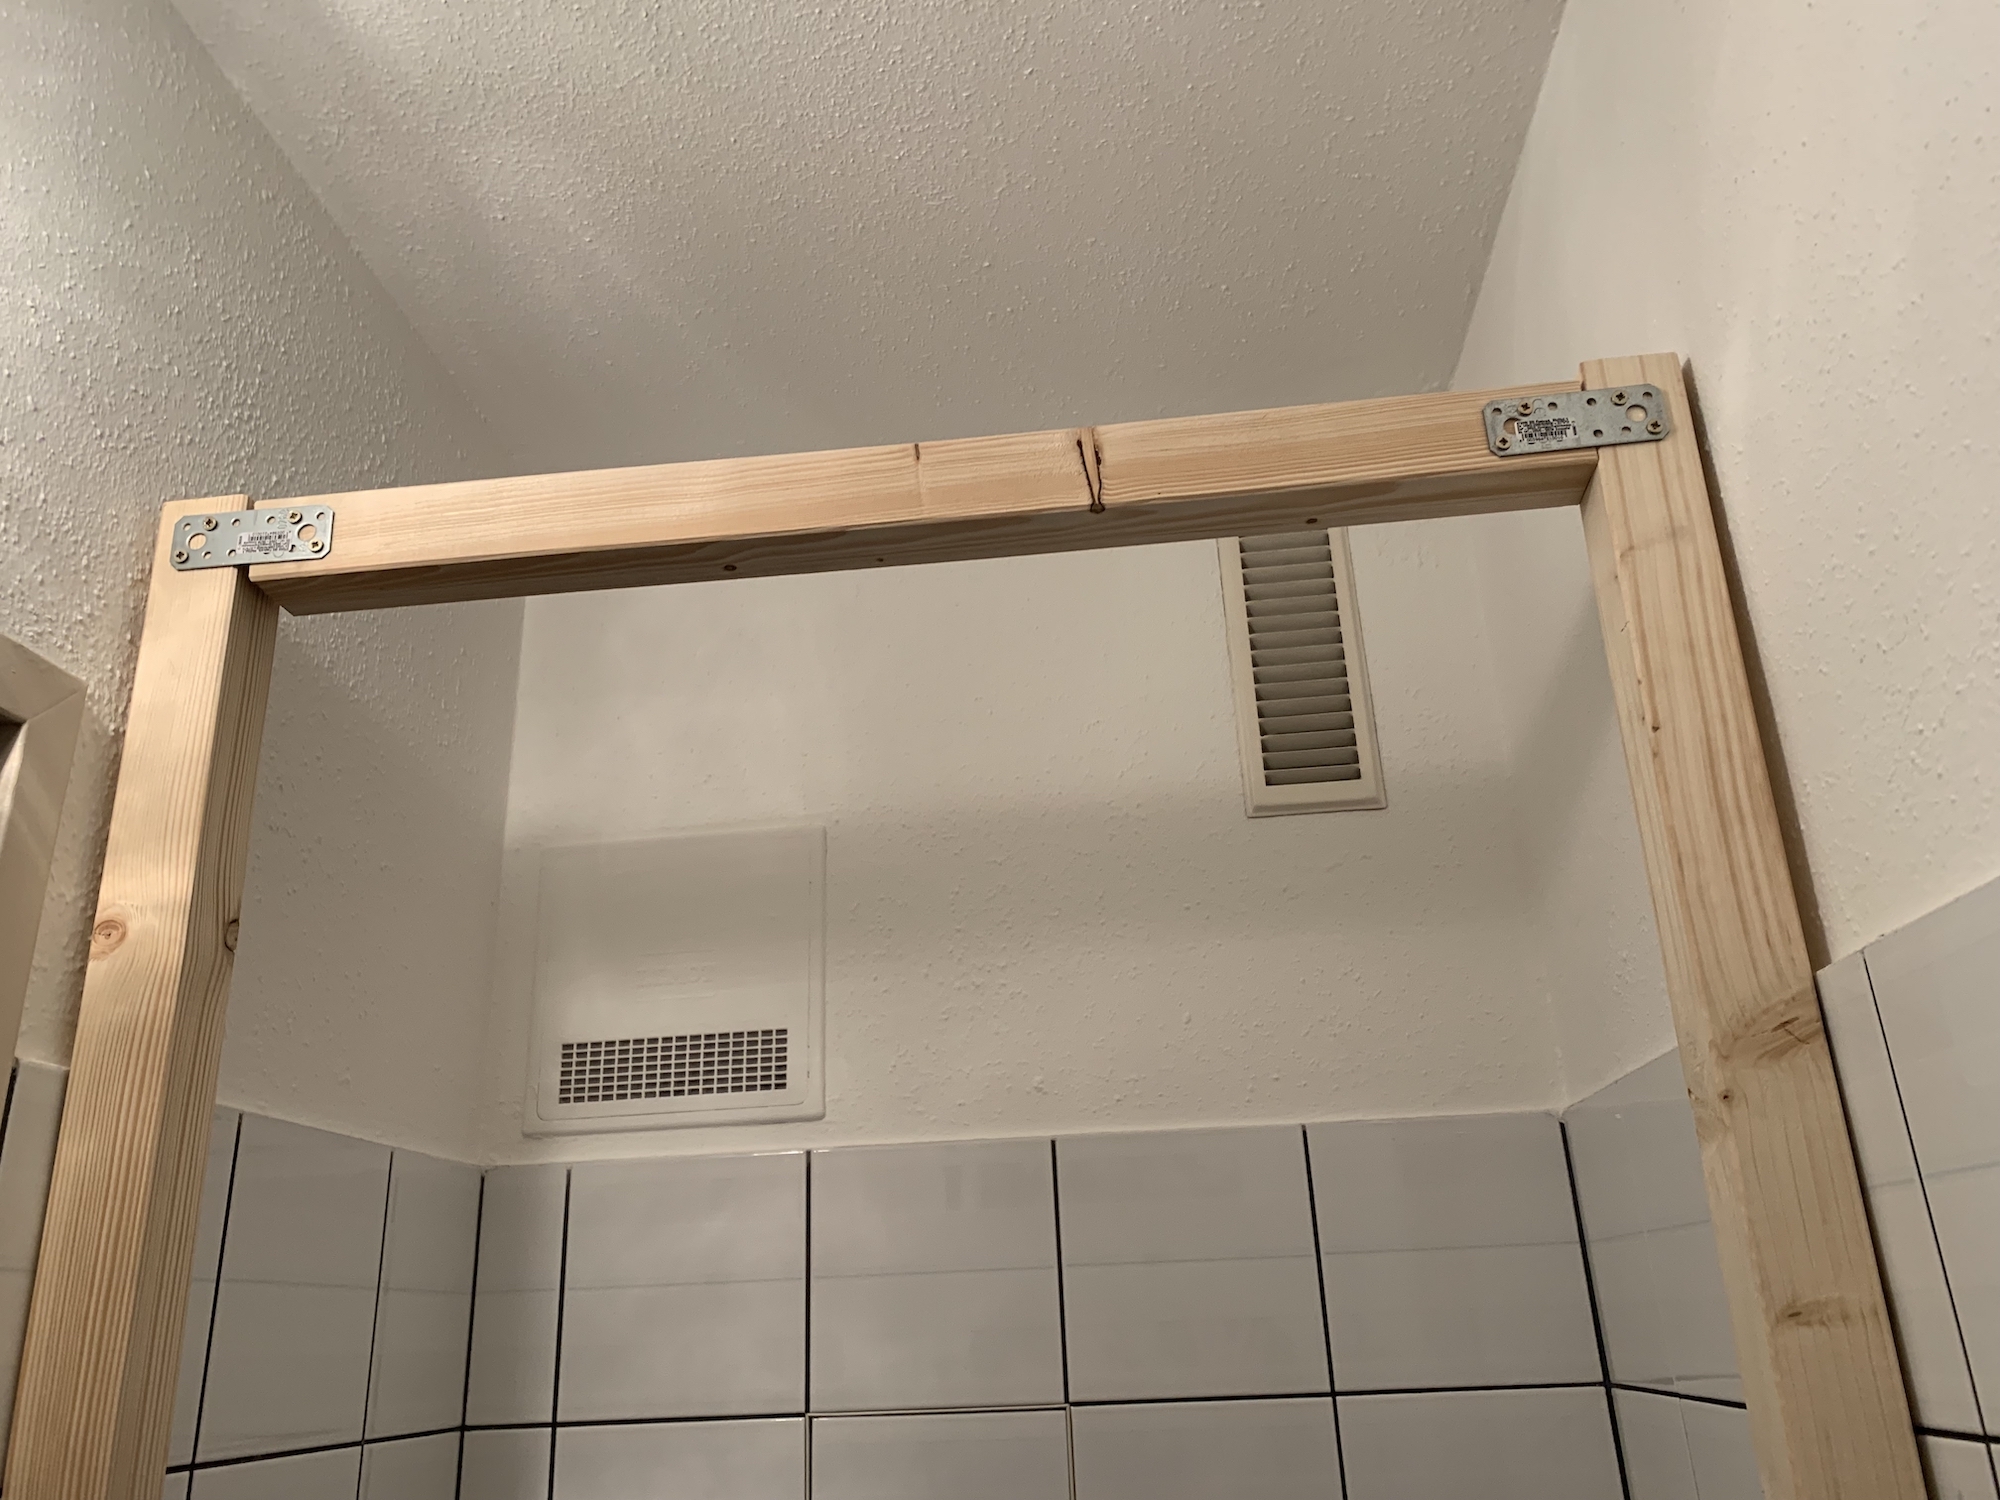
The side party that hold the handles are connected to each other on the top and the bottom so that the construction is unattached to the walls and cannot move.
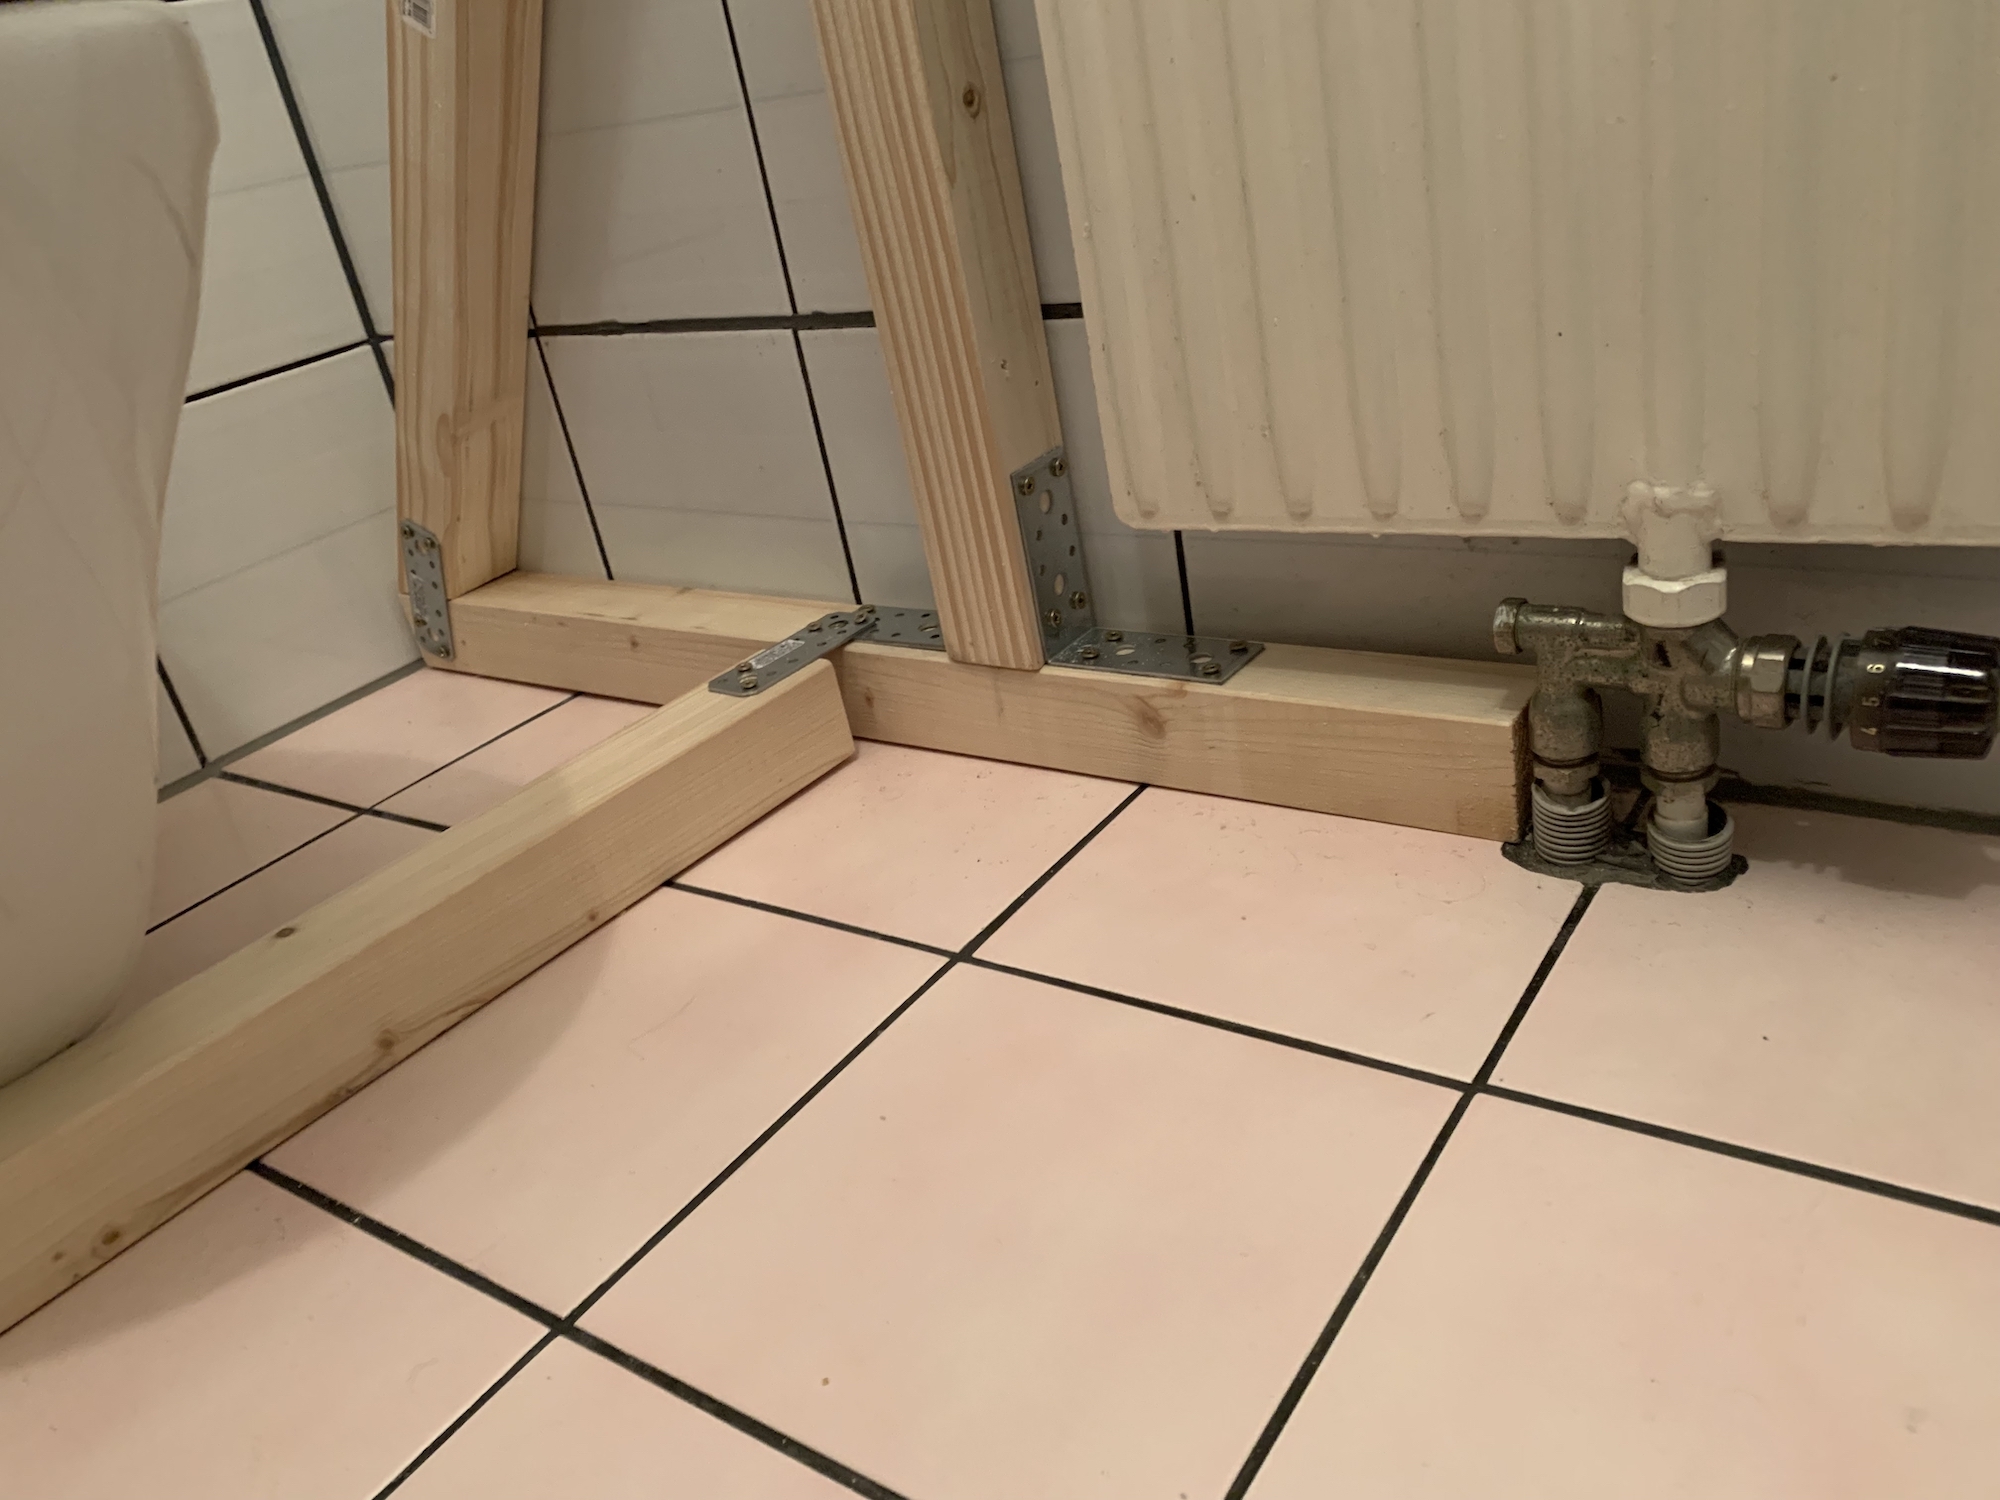
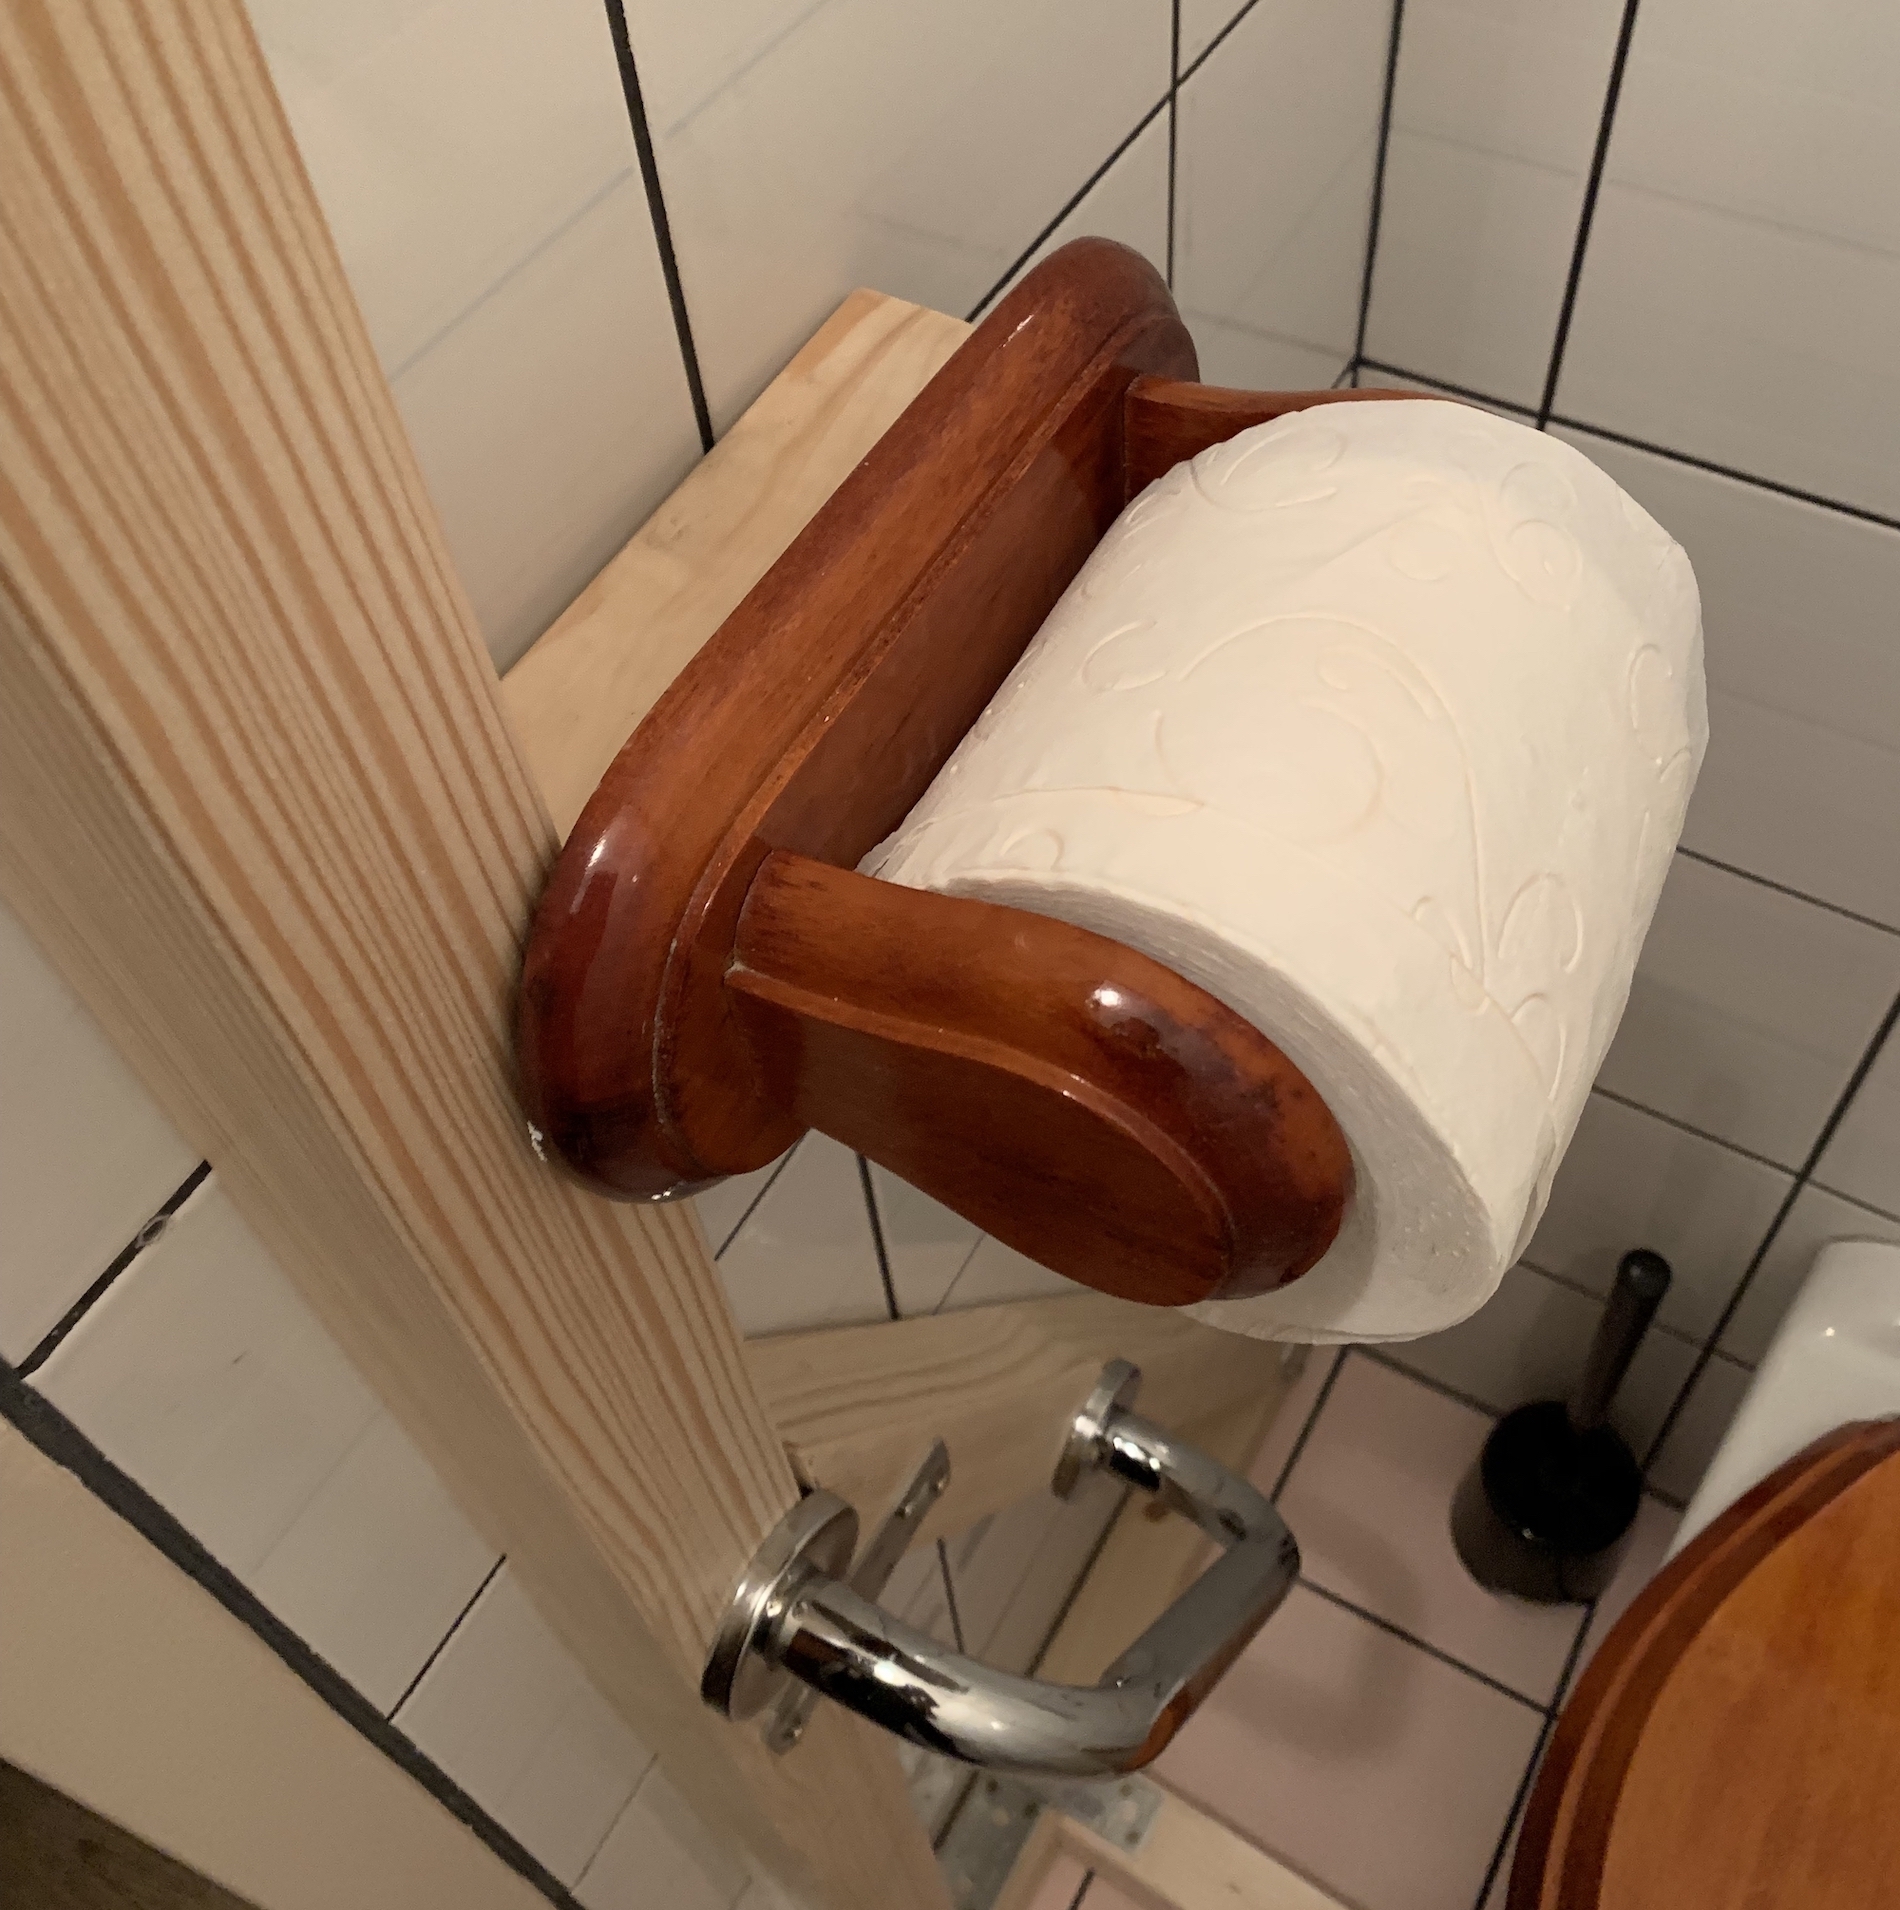
As the holder for toilet paper was in the way, I had to re-mount it to the wooden frame. There’s got to be time for that 😉
Effort for this construction: half a morning. Measure, get the materials, cut the wooden bars, mount everything, done.
Part 2: A ramp to geht into the winter garden. The doorstep is only 5cm high, but that is too high for an unskilled wheelchair user. Also, the door is around 30 years old and the plastic parts would not have survived multiple crossings without breaking. So I had to find a solution for this as well: A two-part foldable ramp (so that you can cross the doorstep from both sides) that you can fold in half, when you don’t need it and want to close the door. I chose multi-layer wooden boards, as the are really stable (16mm thickness – next time I would chose 20mm).
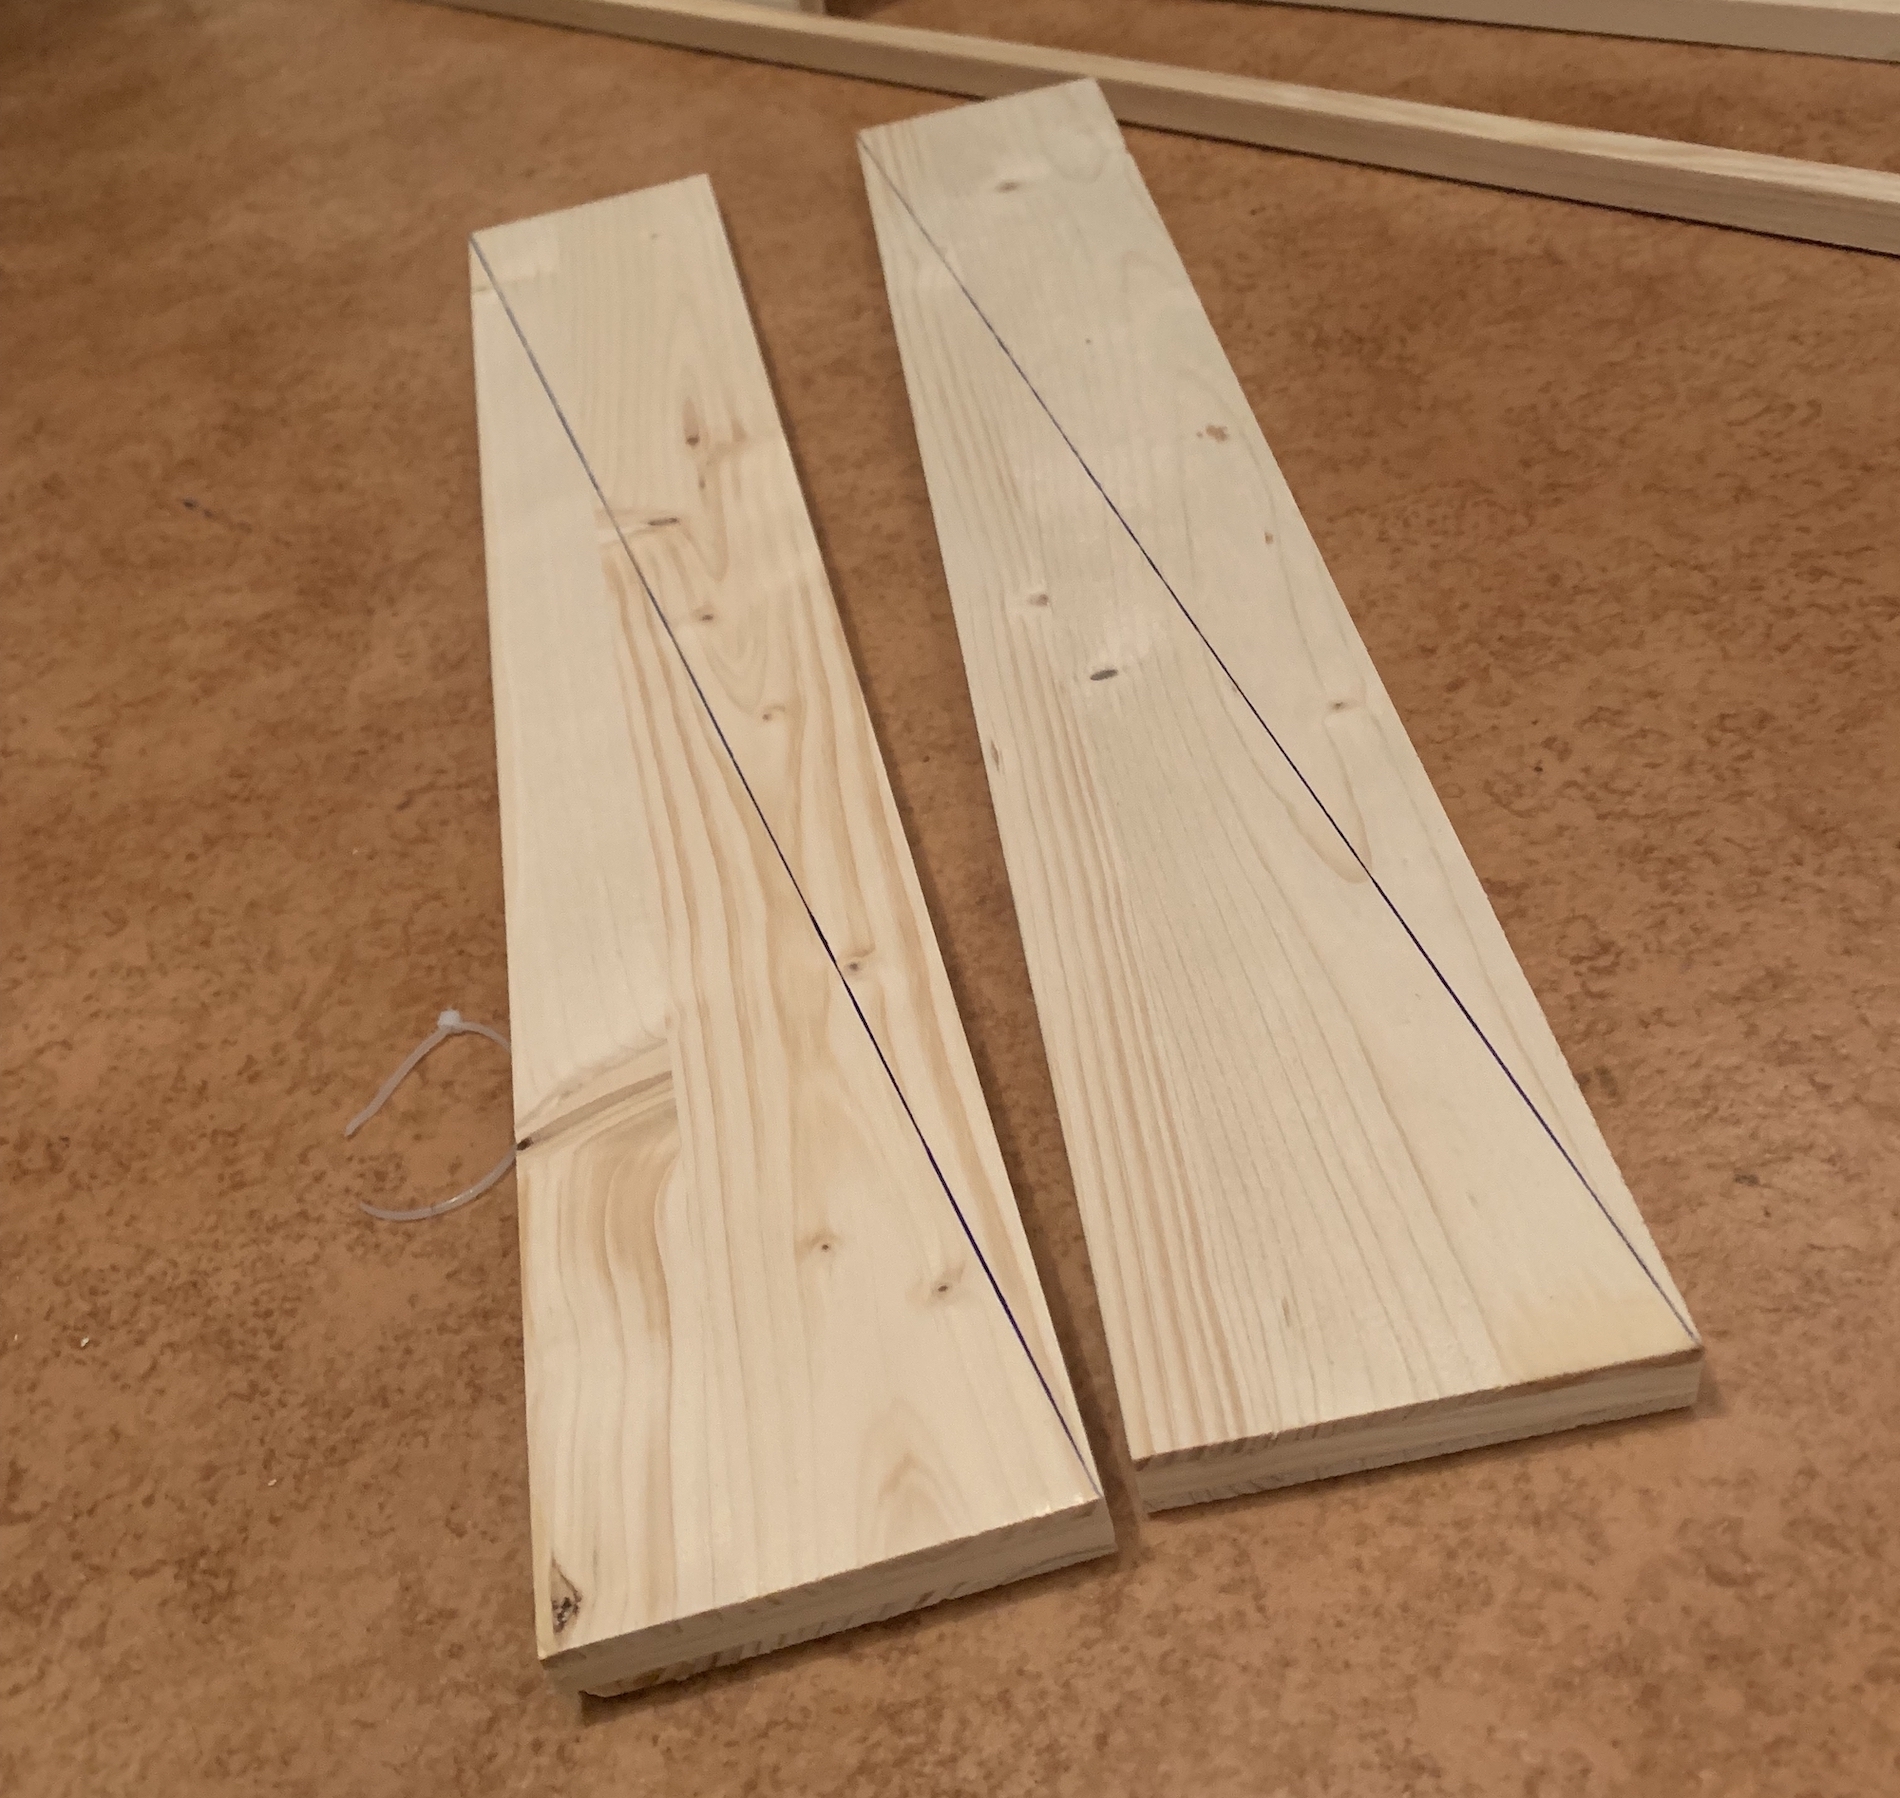
For a height difference of 5cm a ramp length of 50cm should be OK (if the ramp is shorter, it would be more difficult to get the wheelchair across). As cross connectors I used the same 45x45mm wooden bars that I already used for the toilet.
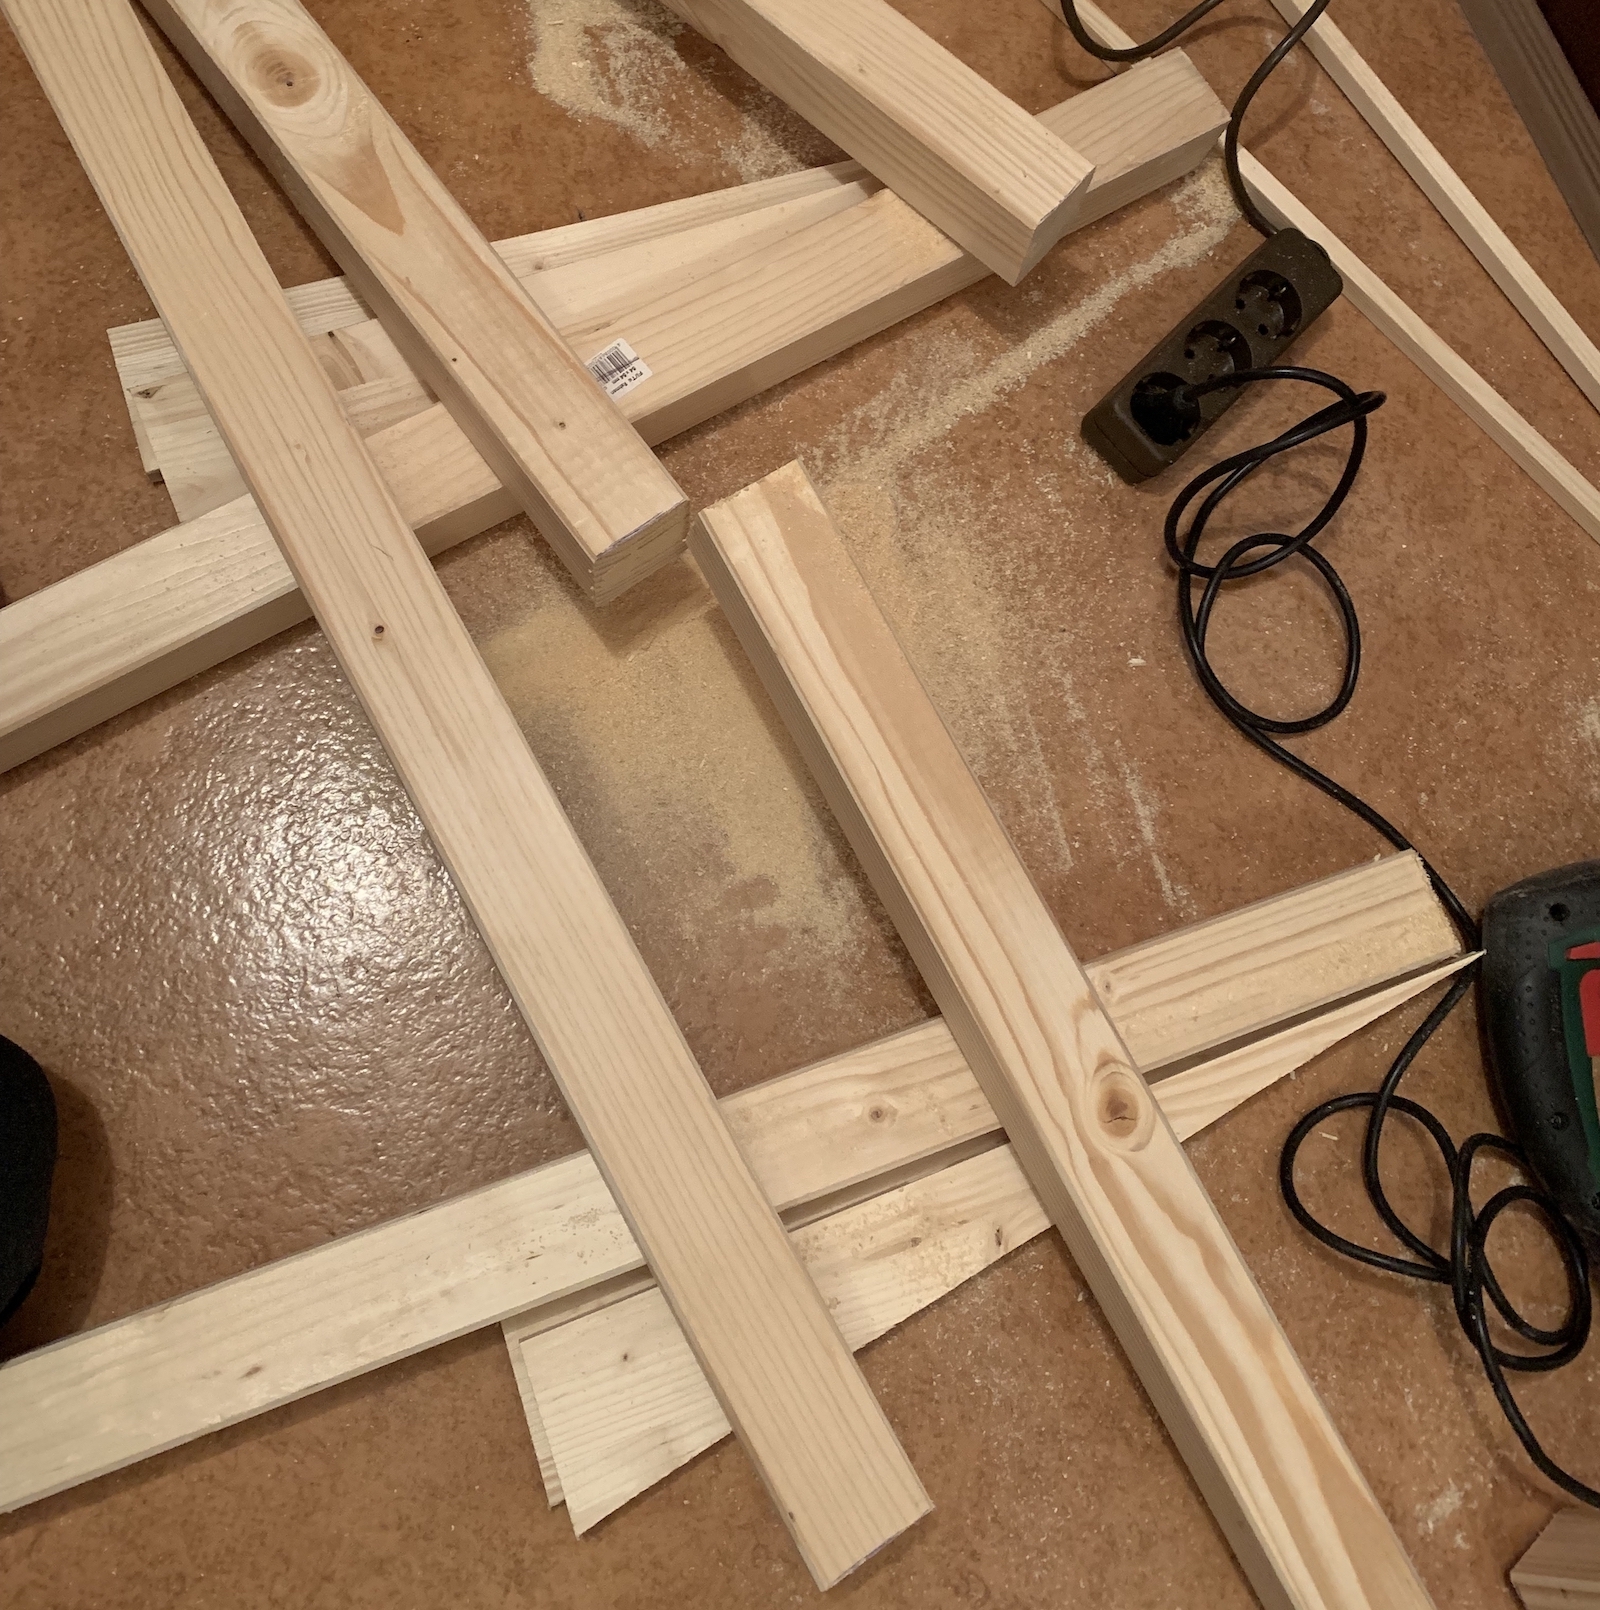
The frame is quite simple (two side party, a cross connectore and a board ontop). To minimize the deflection of the board I mounted a little piece of waste wood in the center of the board.

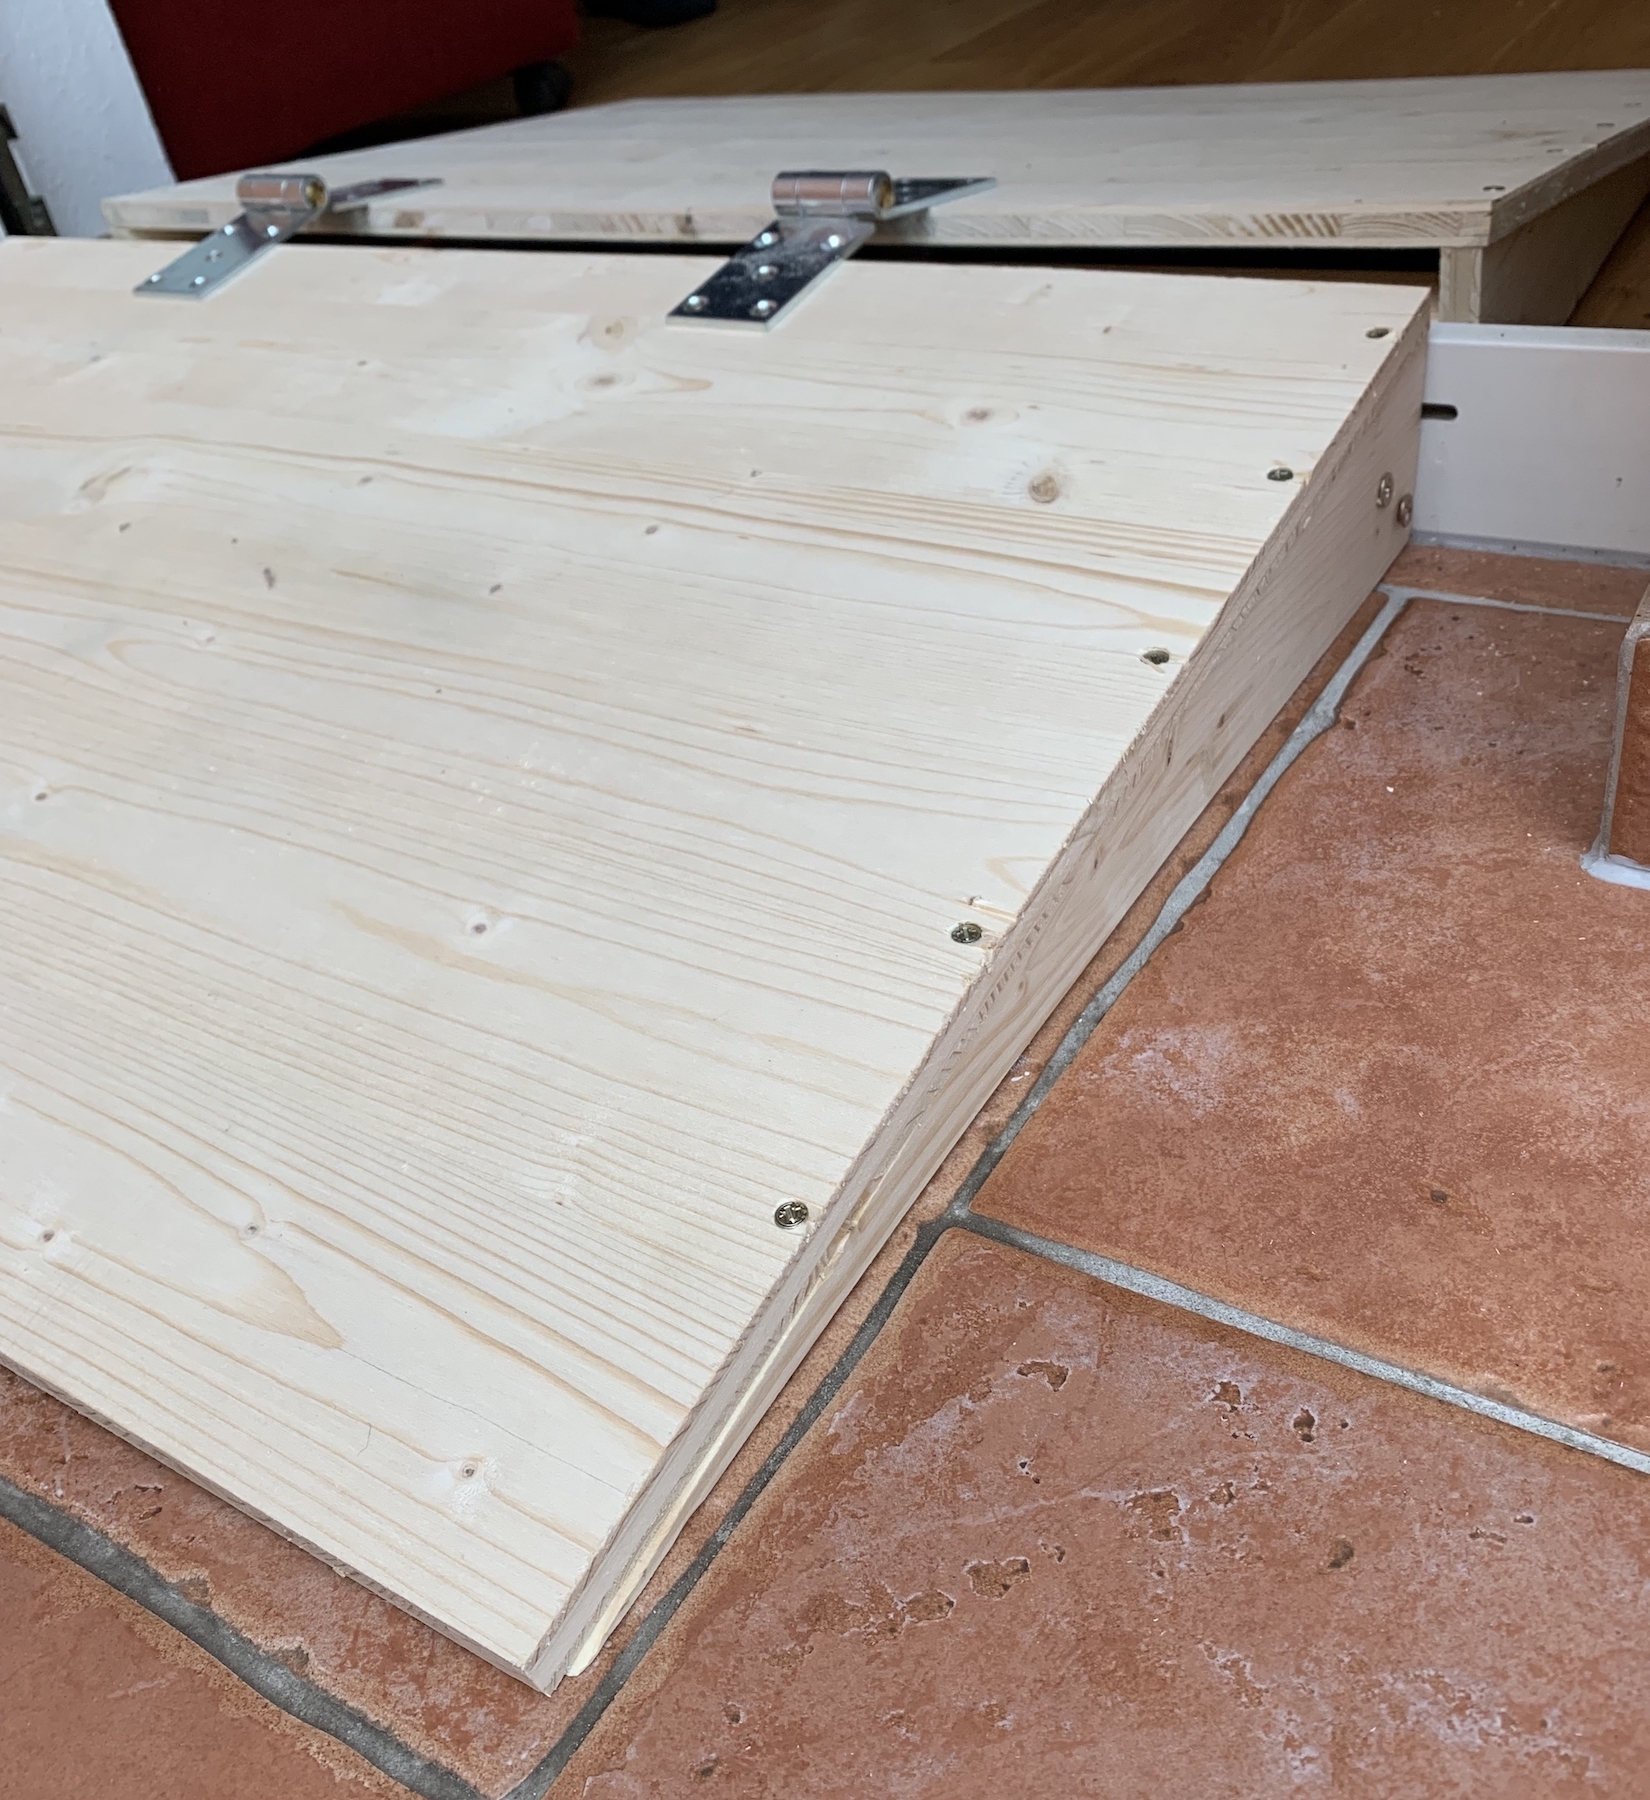
Both parts are identical and were connected with hinges so that the ramp can be folded.
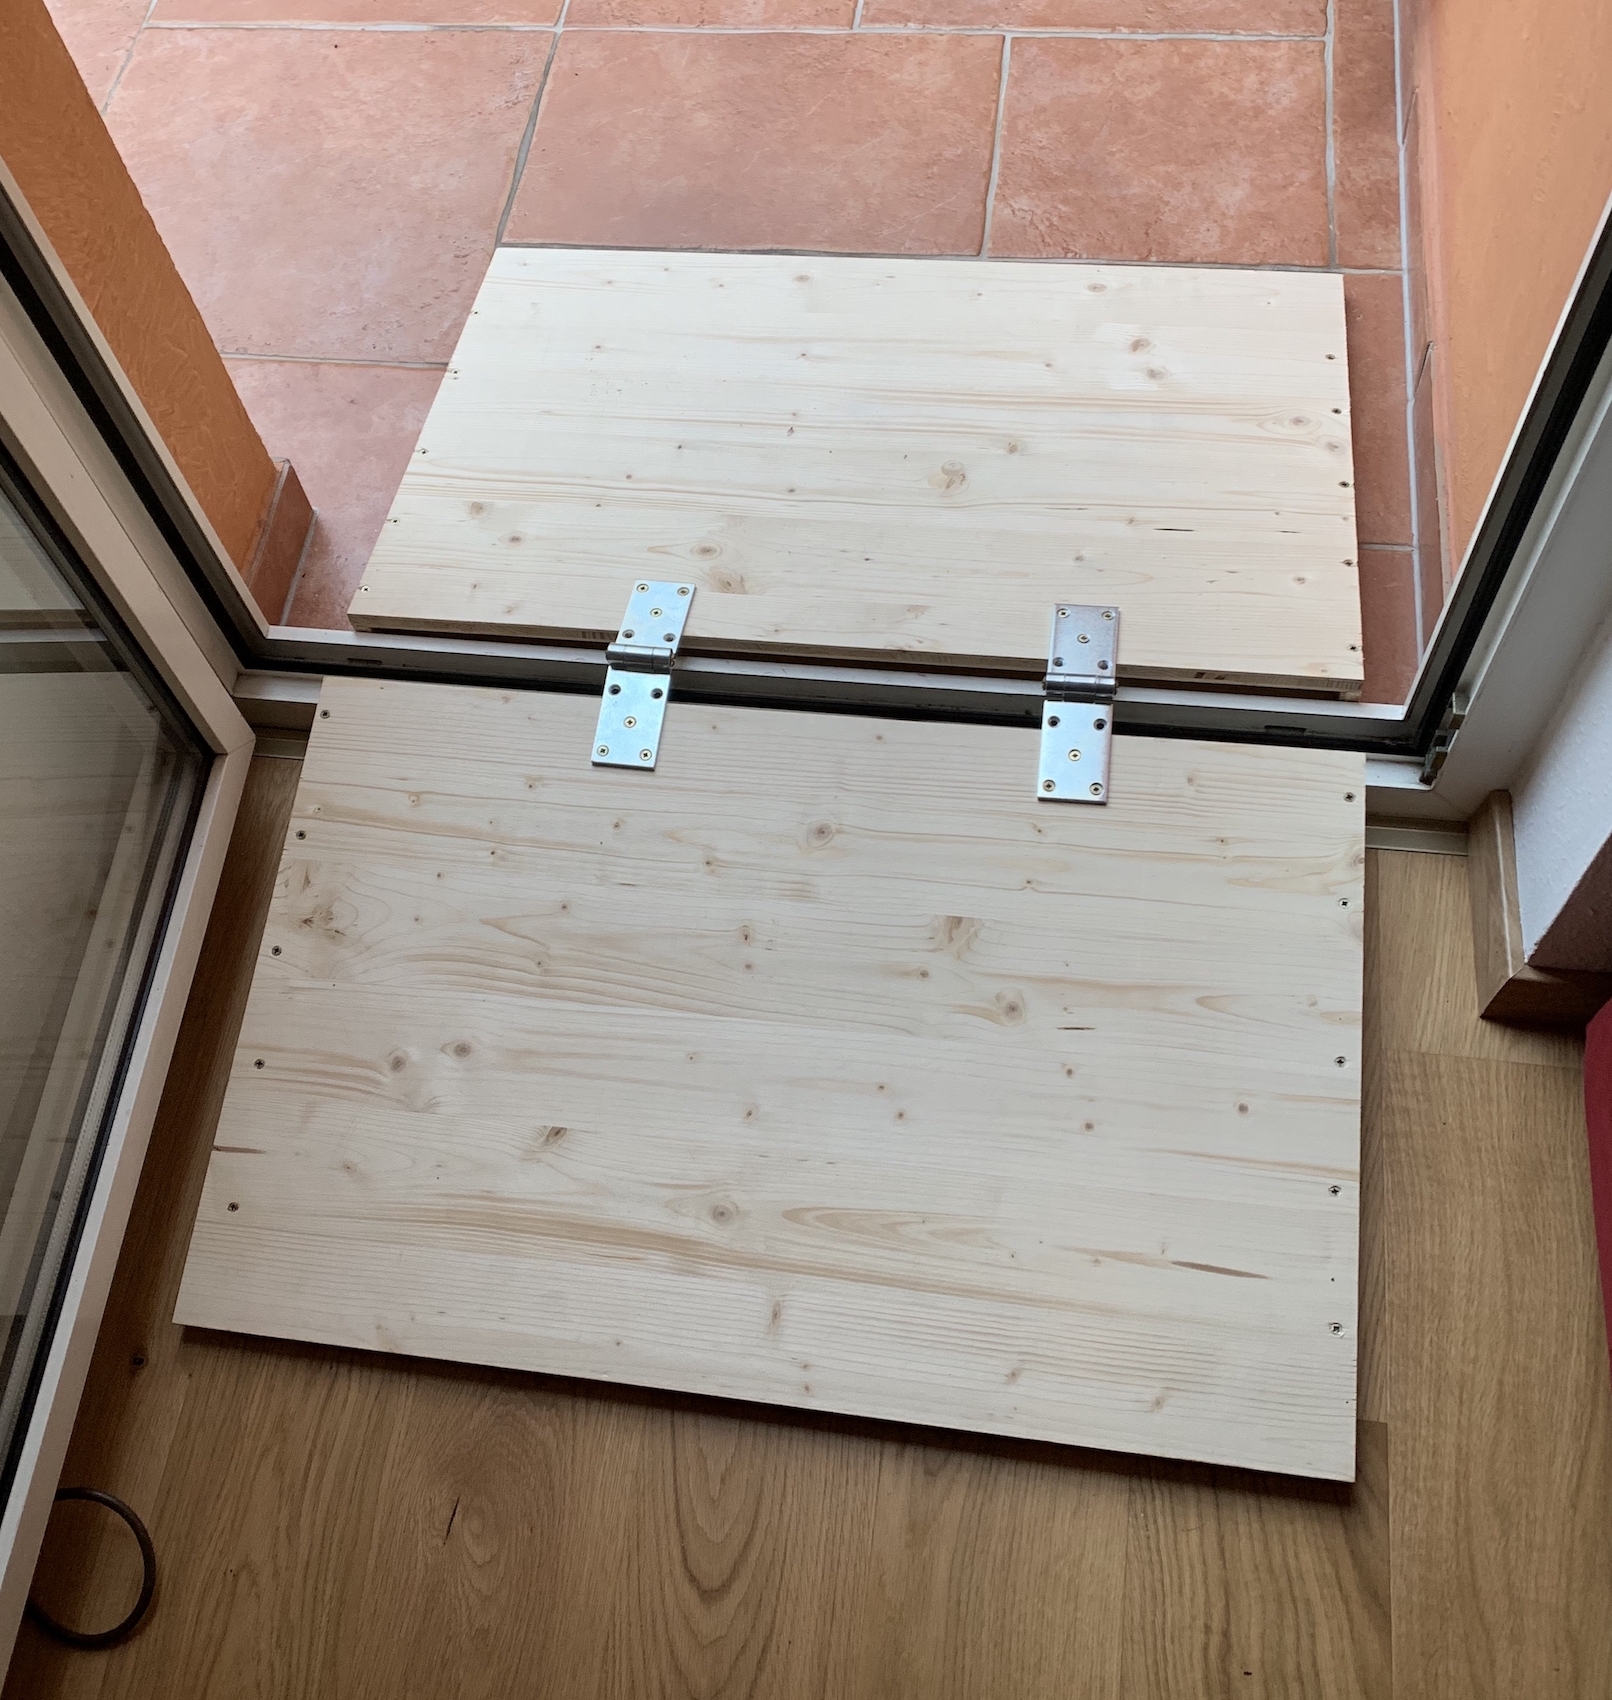
Self-test was successful:
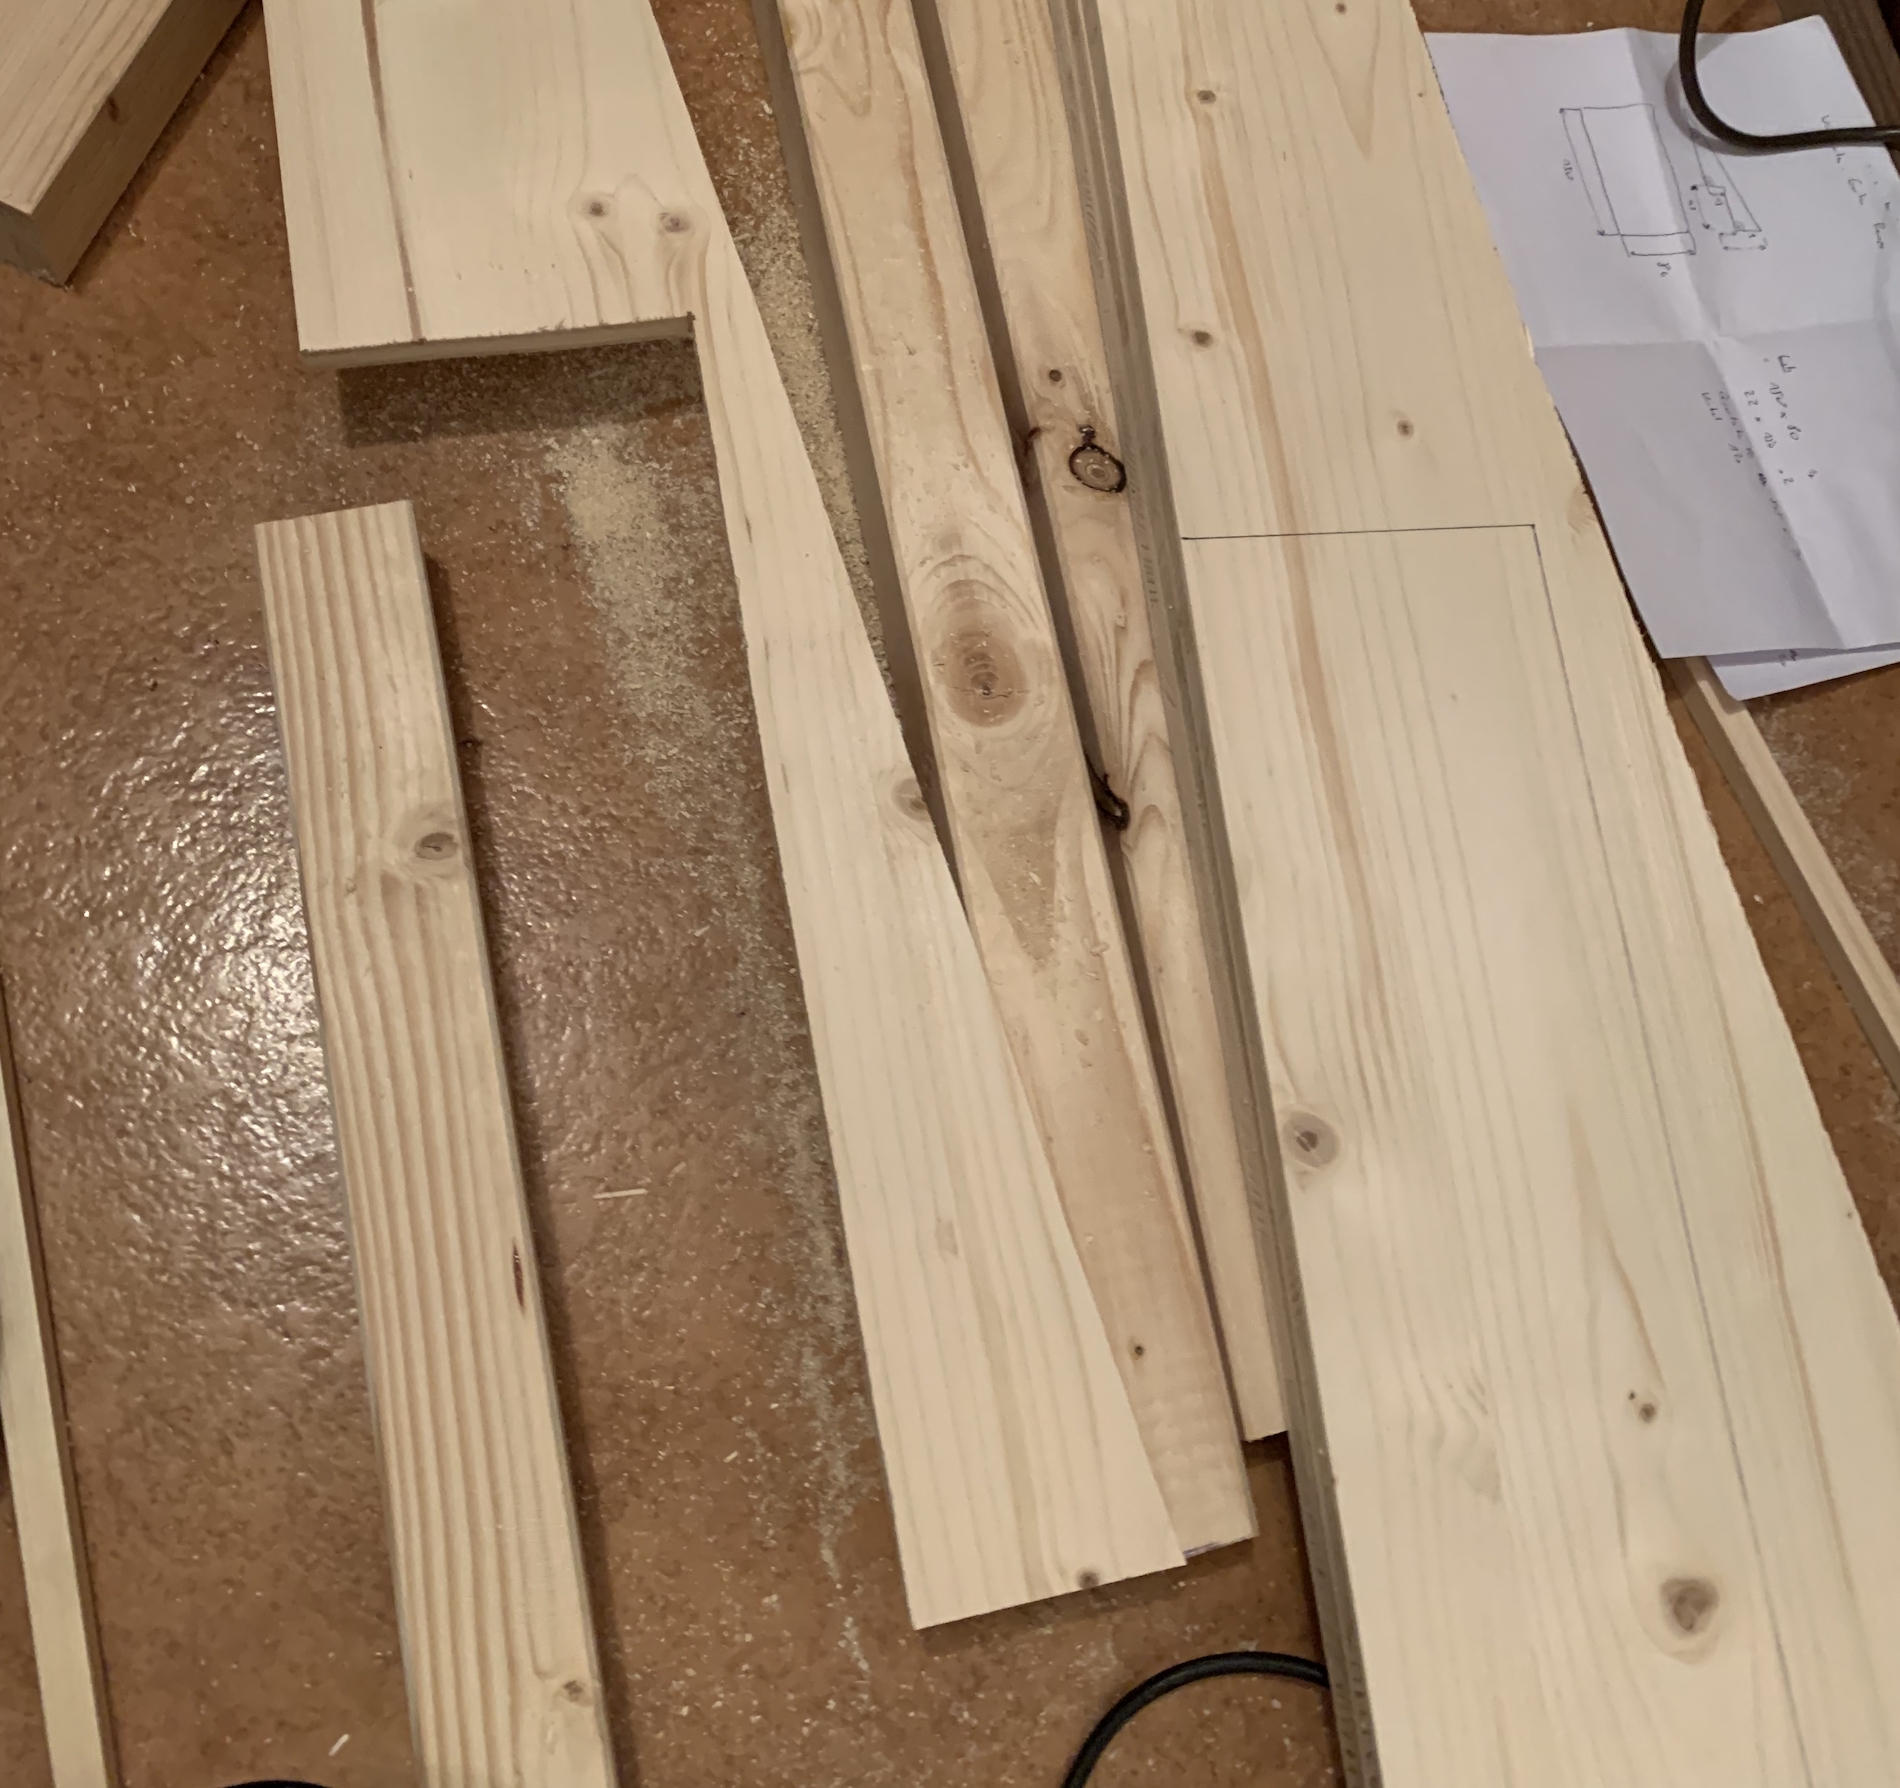
Part 3 – My masterpiece: a ramp into the garden. Here the difference in height was bigger (22cm) and I had to deal with a fixed step that couldn’t be removed. I used the same materials: 45x45mm wooden bars and 15mm wooden boards.
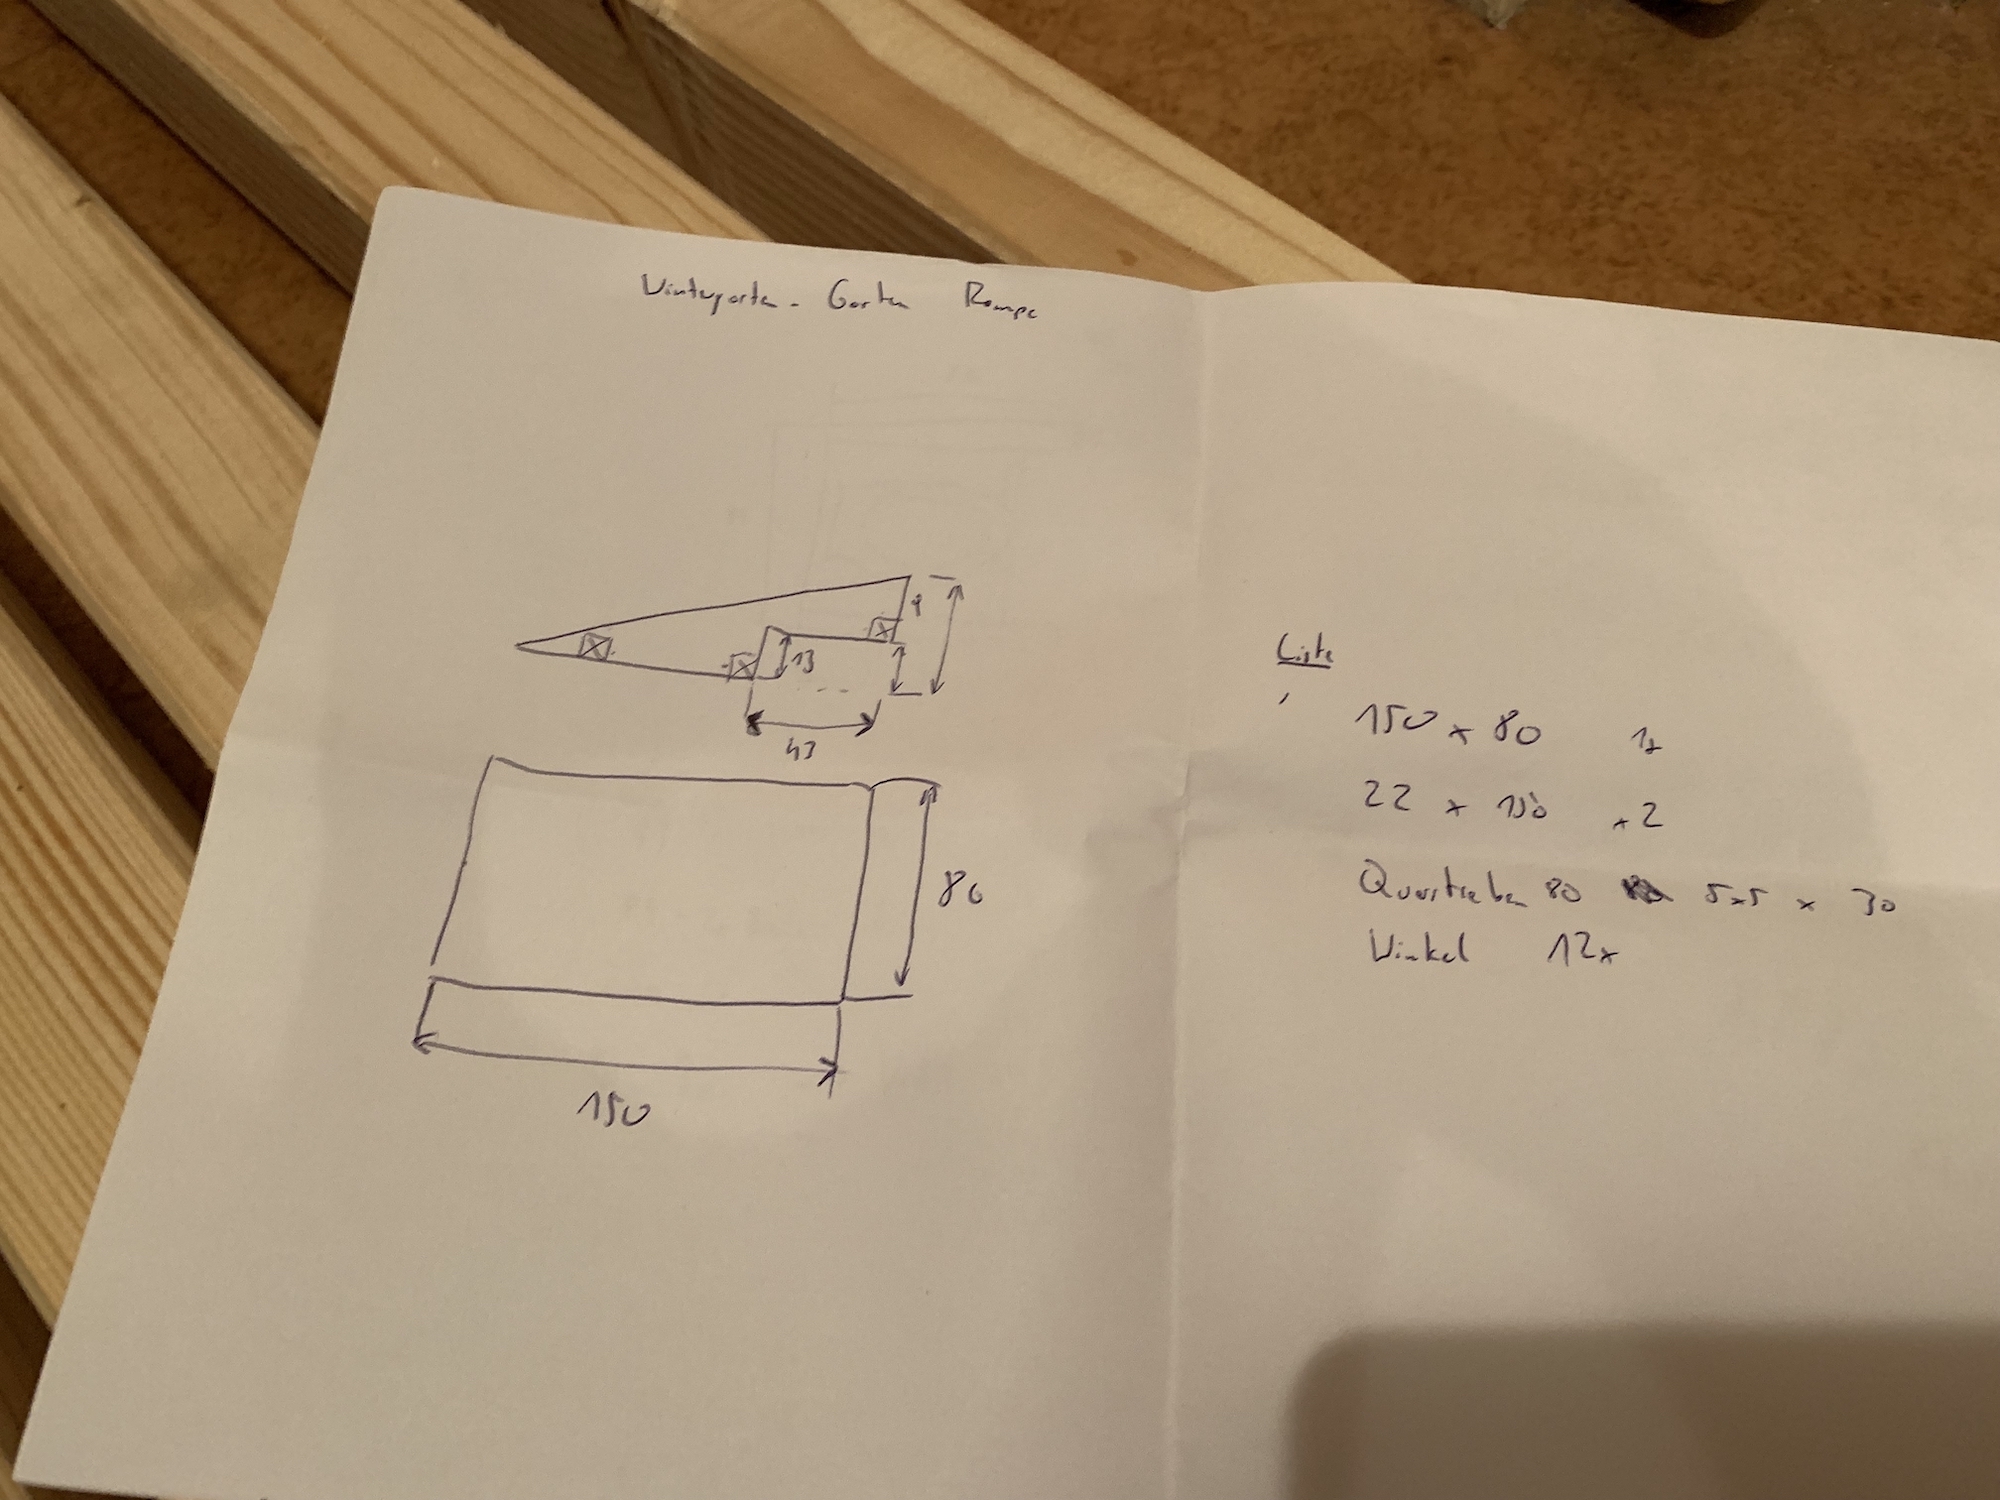
I chose a length of 150cm to cover the height difference of 22cm. A shorter ramp would have made it more difficult for the wheelchair user to get up. A longer ramp would have made it easier, but then I would have had difficulties getting the wooden board into my car. So: 150cm. Also, it proved to be the perfect length to cover the step (that had to be cut out of the side parts).
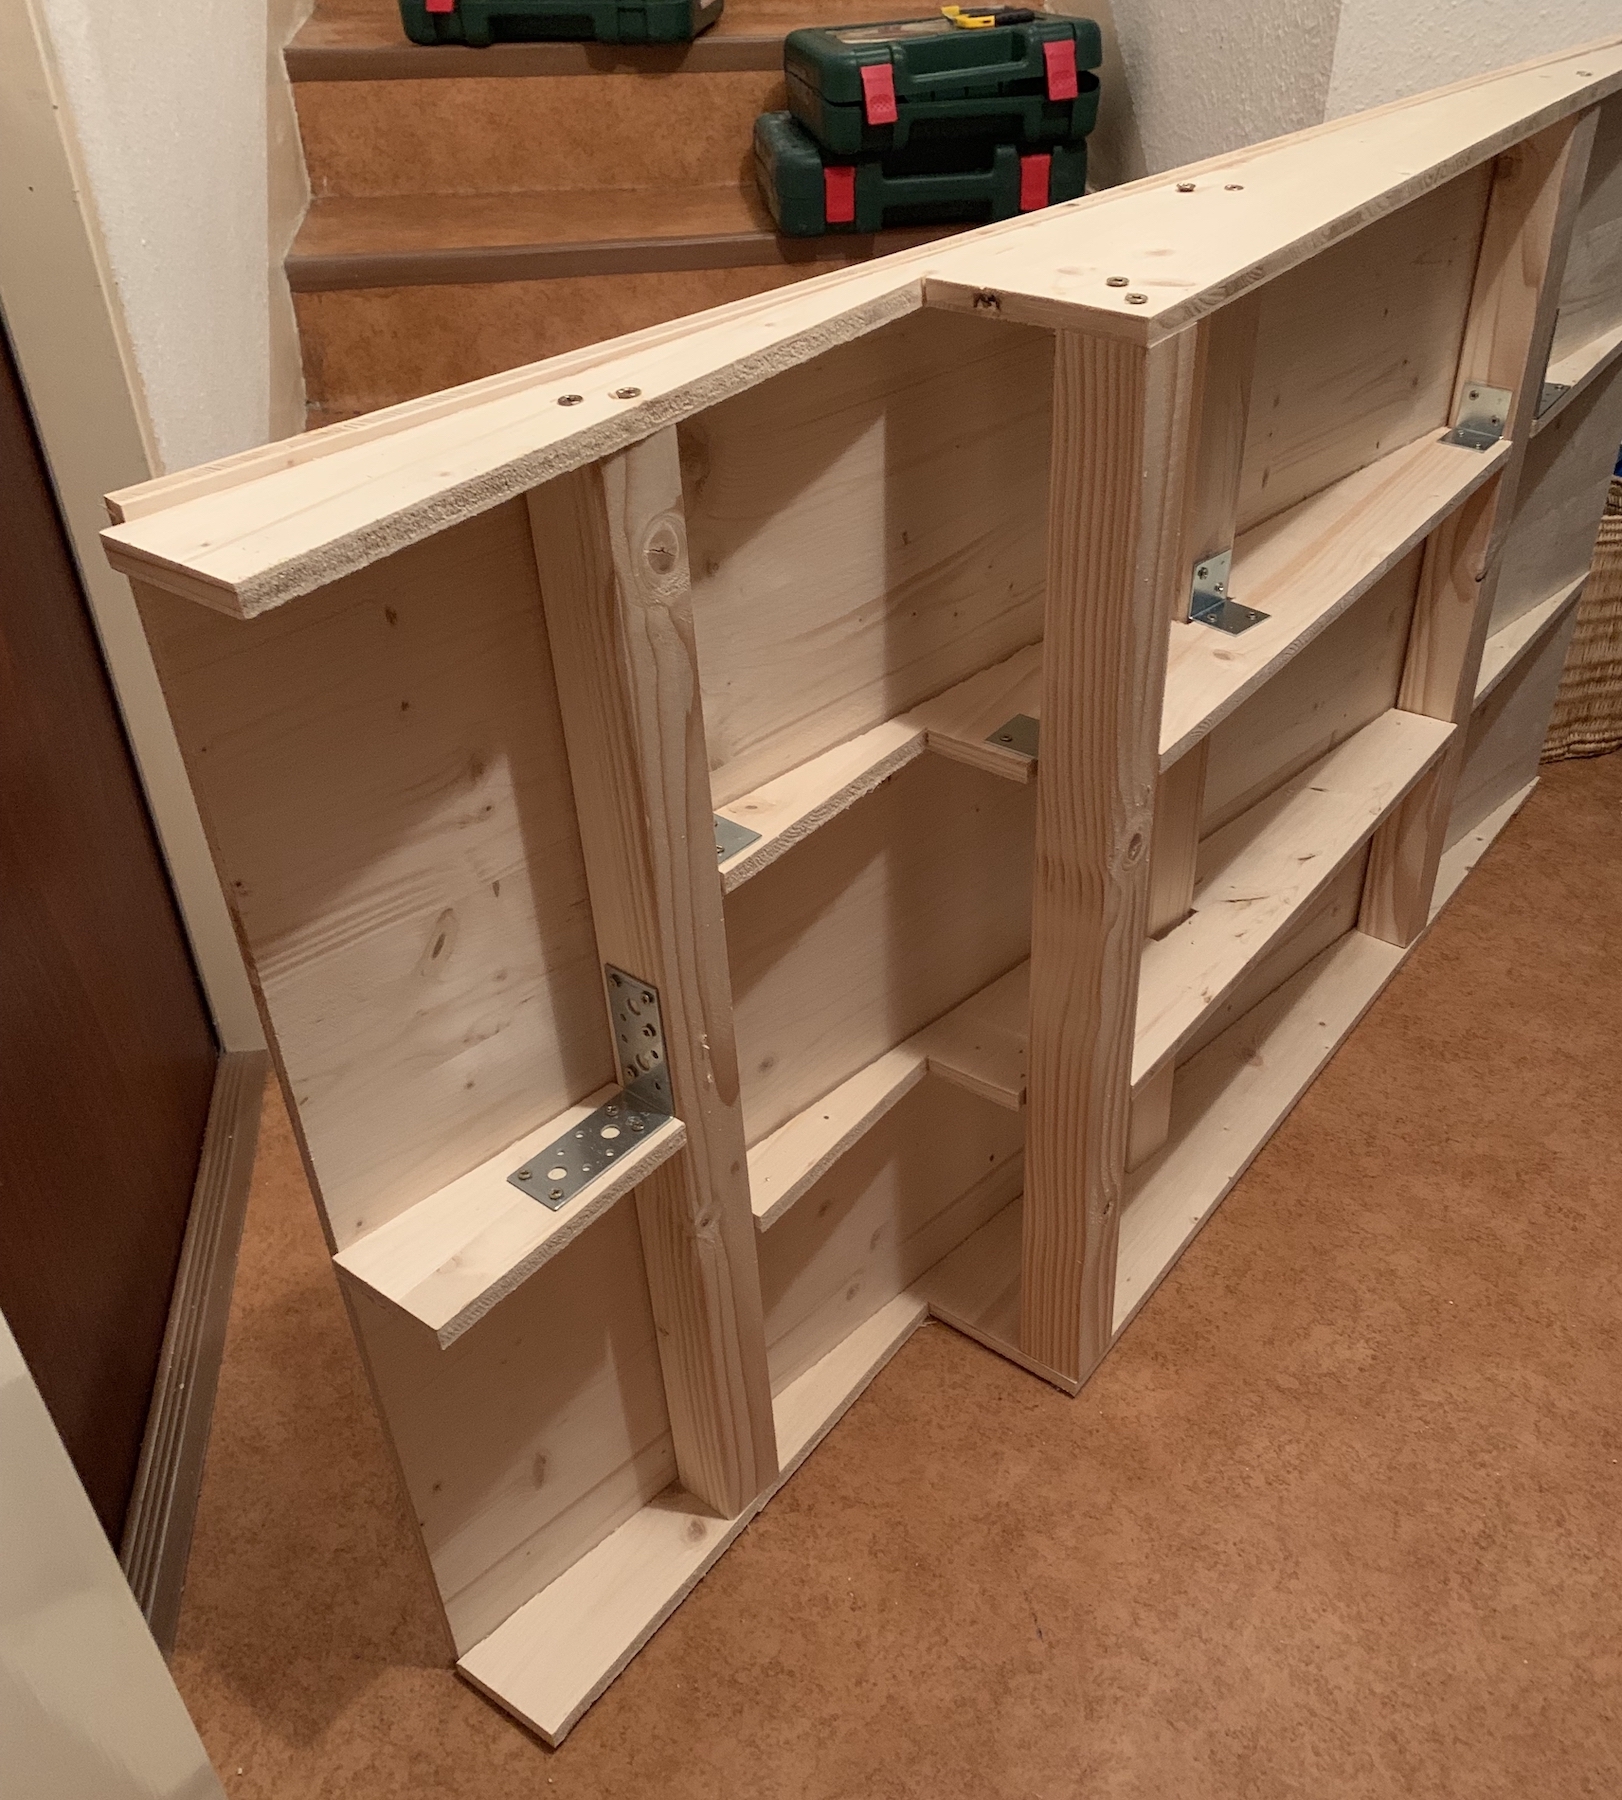
For the substructure I used severall crossbars to maximise the stability. The ramp has to deal with the weight of the wheelchair user, the wheelchair and maybe also a person pushing the wheelchair (and some safety buffer, of course) – all in all around 200kgs.
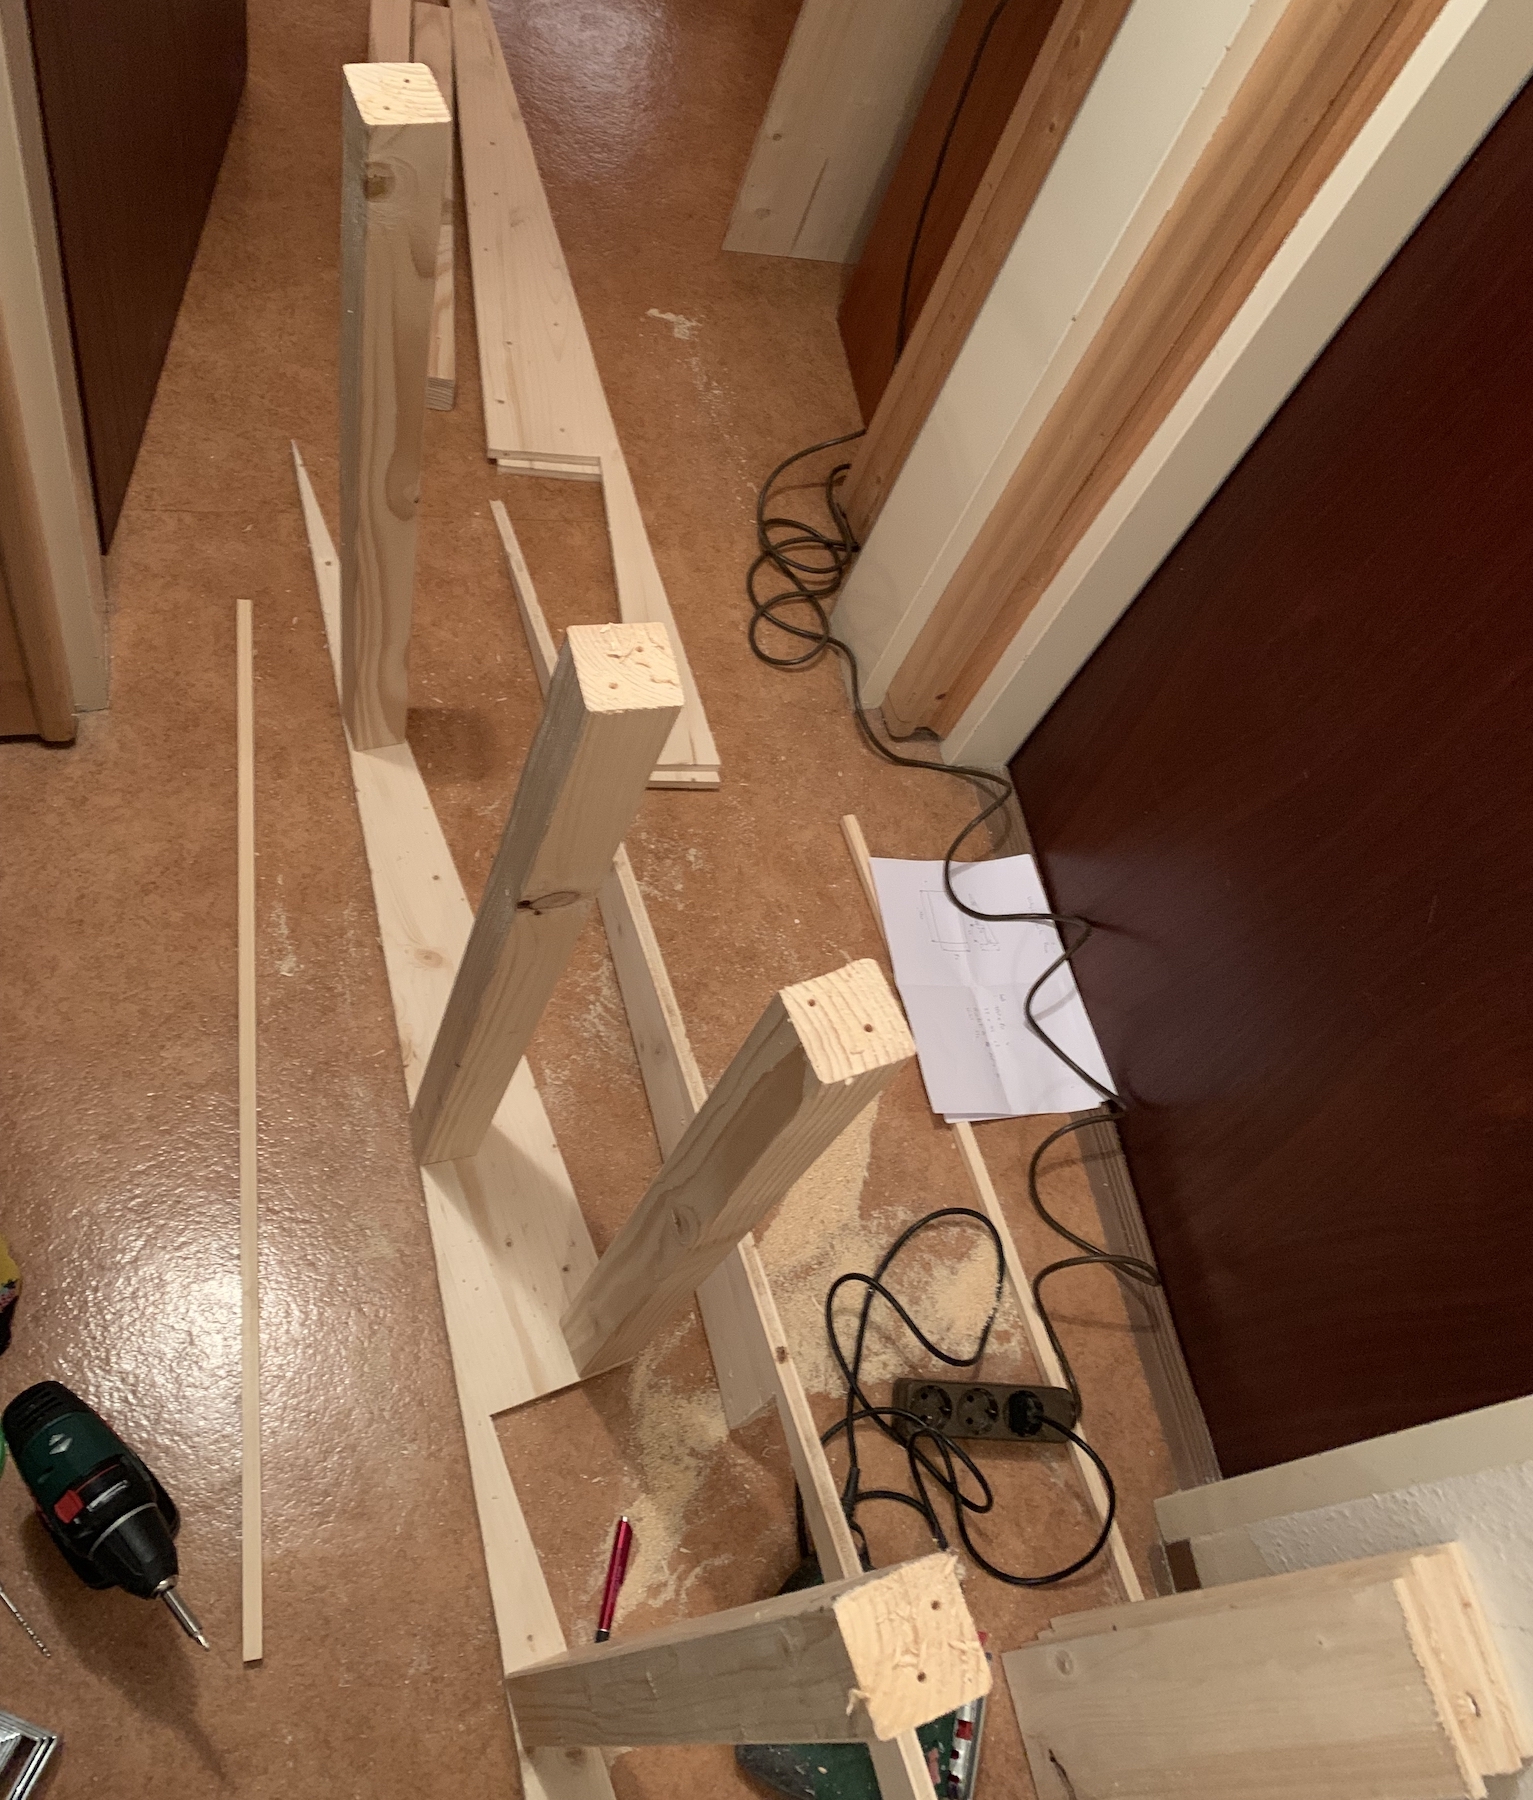
The crossbars were complemented by longitudinal studs, so that the cover plate does not sag anywhere.

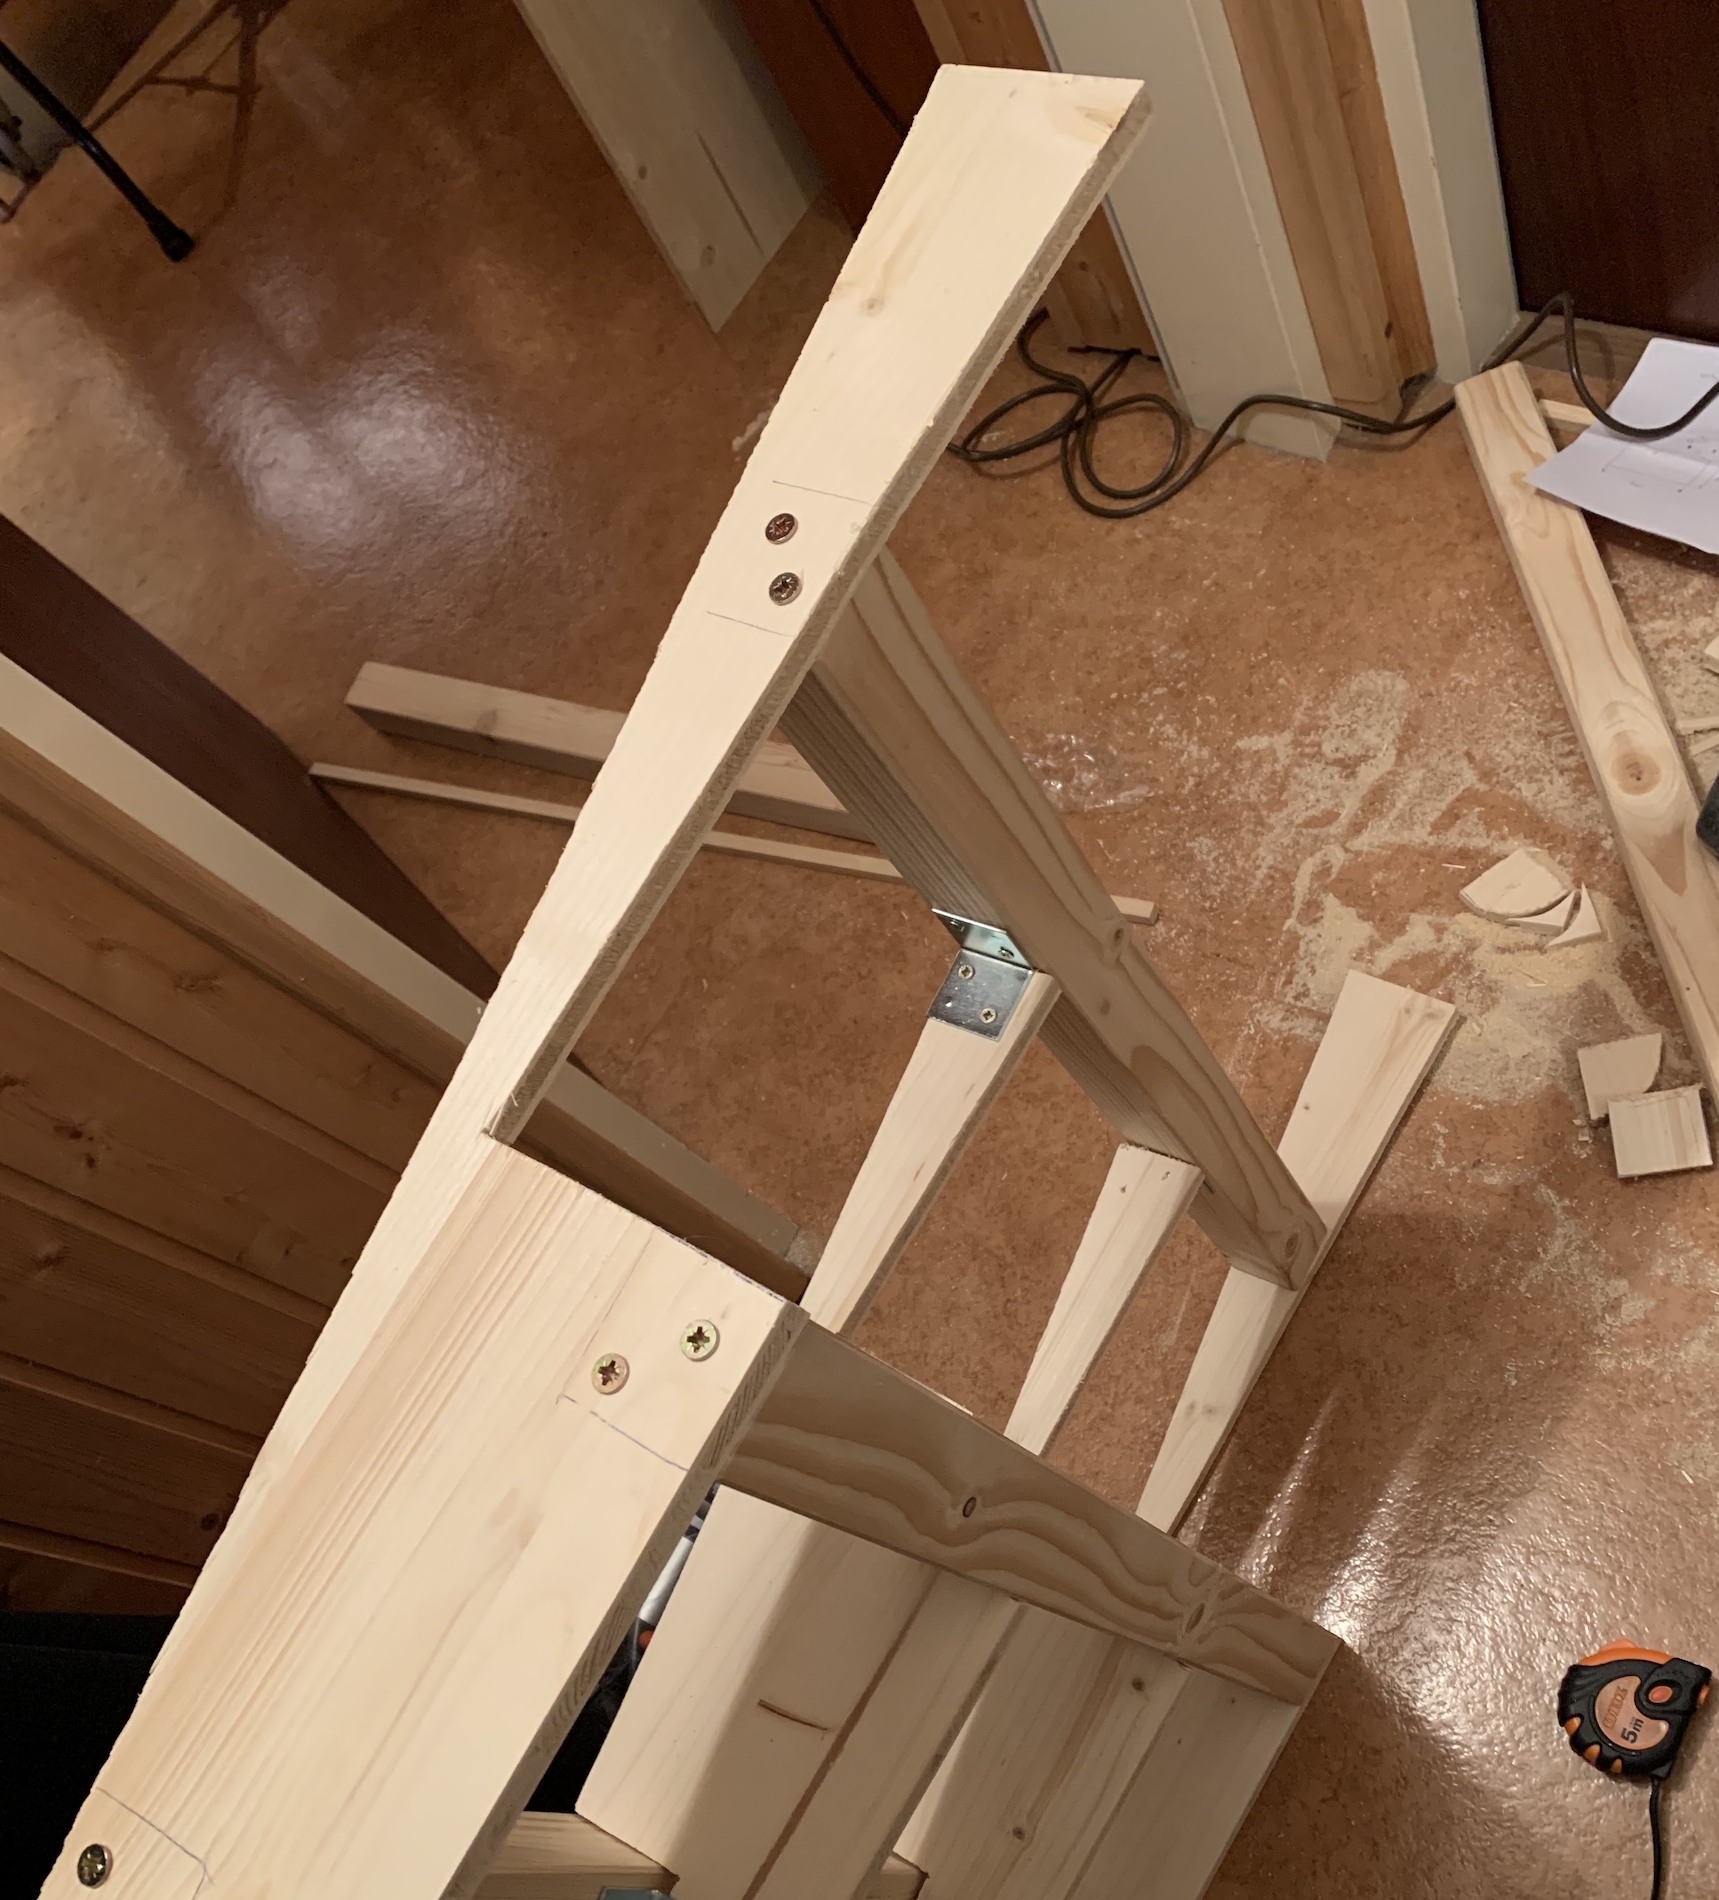
Also the upper part (where the step is) has crossbars and longitudinal studs.
The two small studs in the lower area would not have been necessary. But as I already cut them, why not use them?
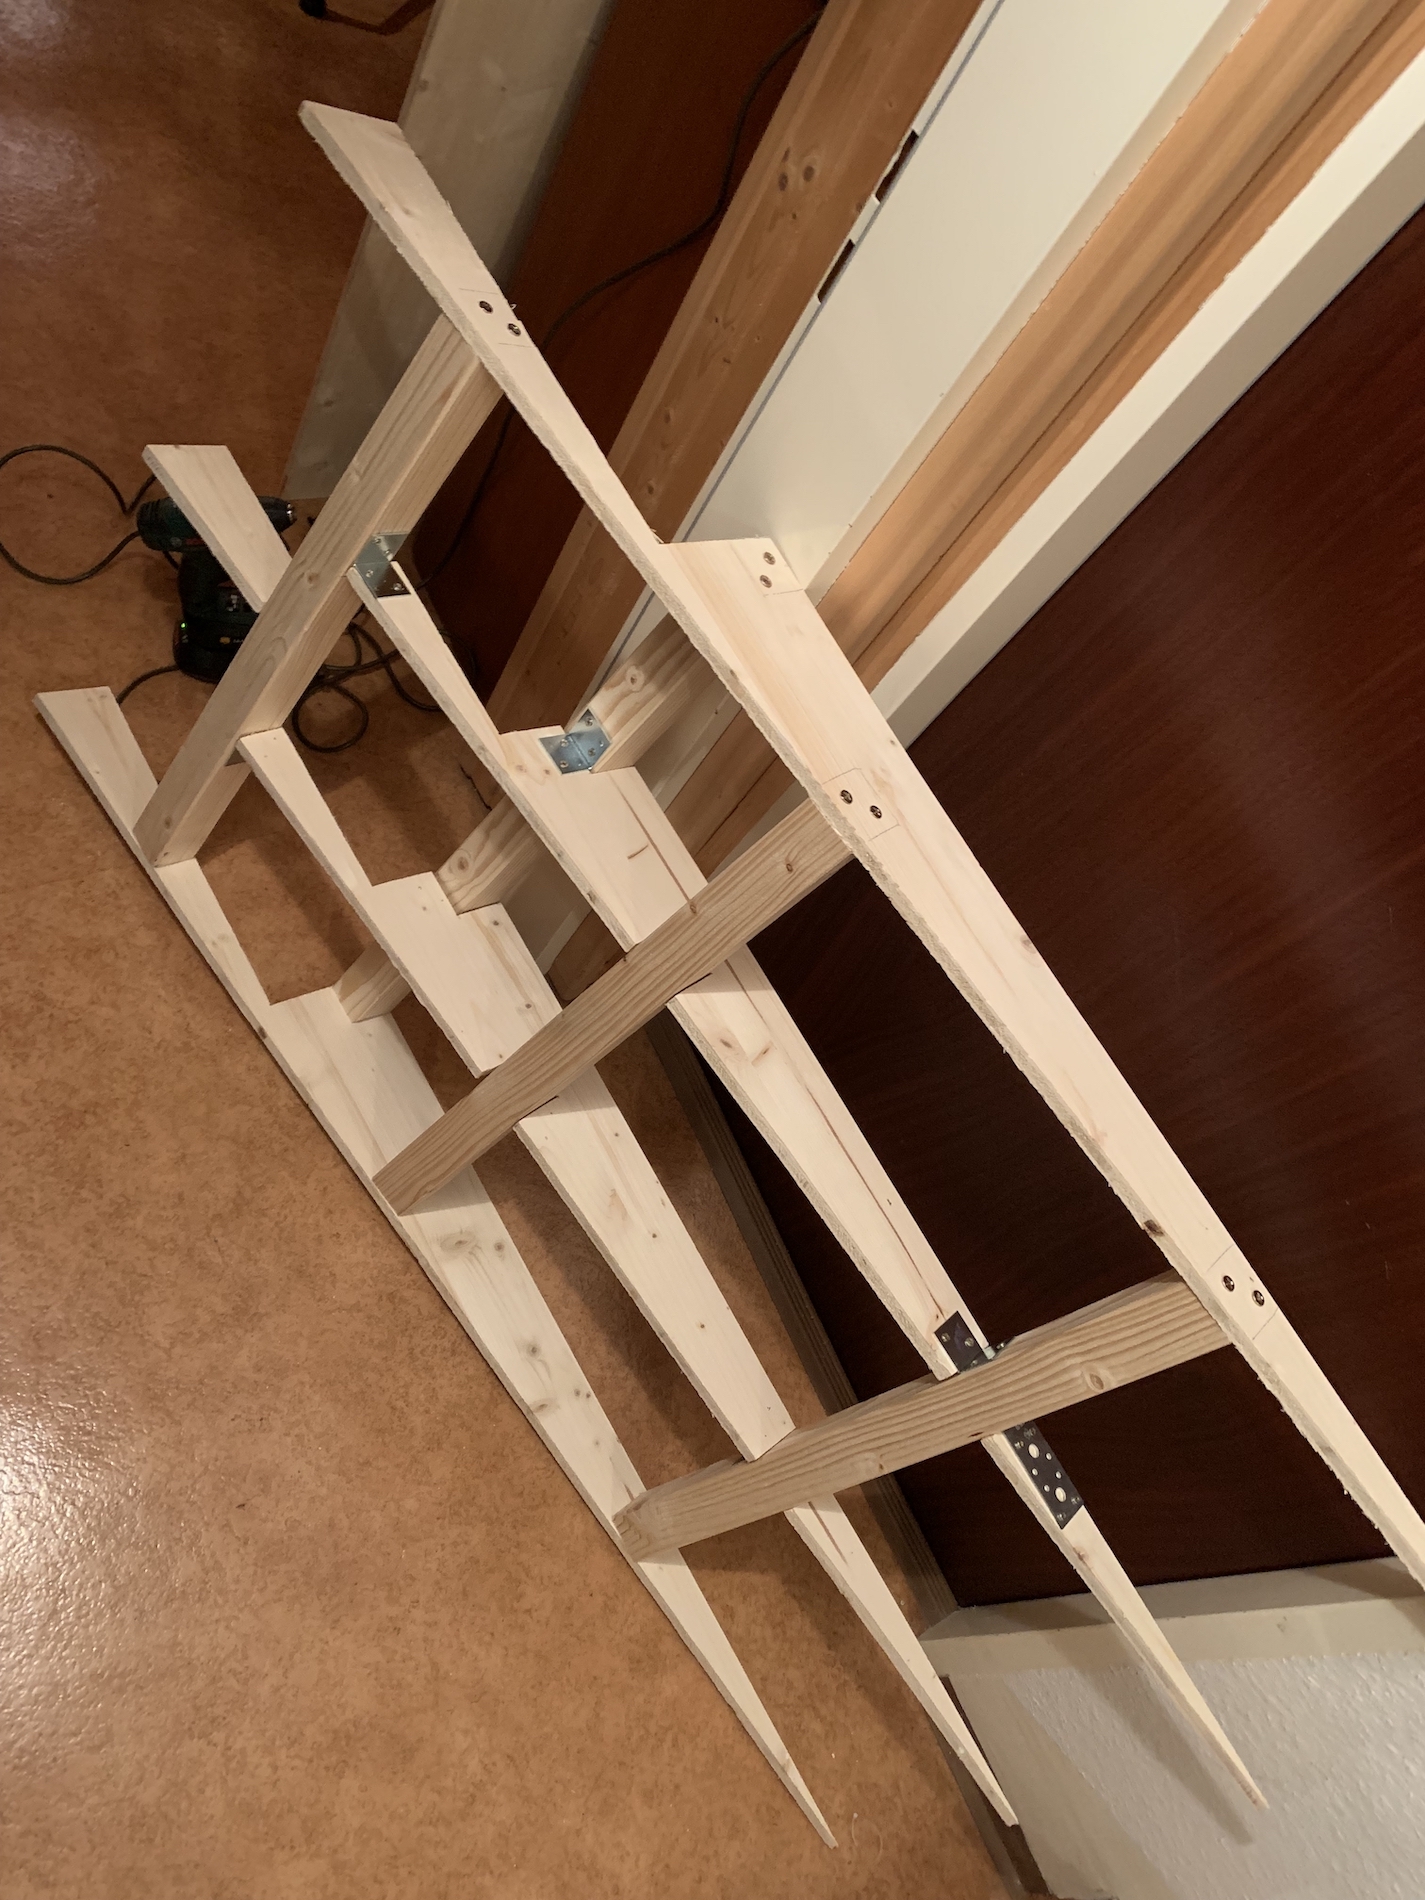
All studs and bars are connected via metal brackets.
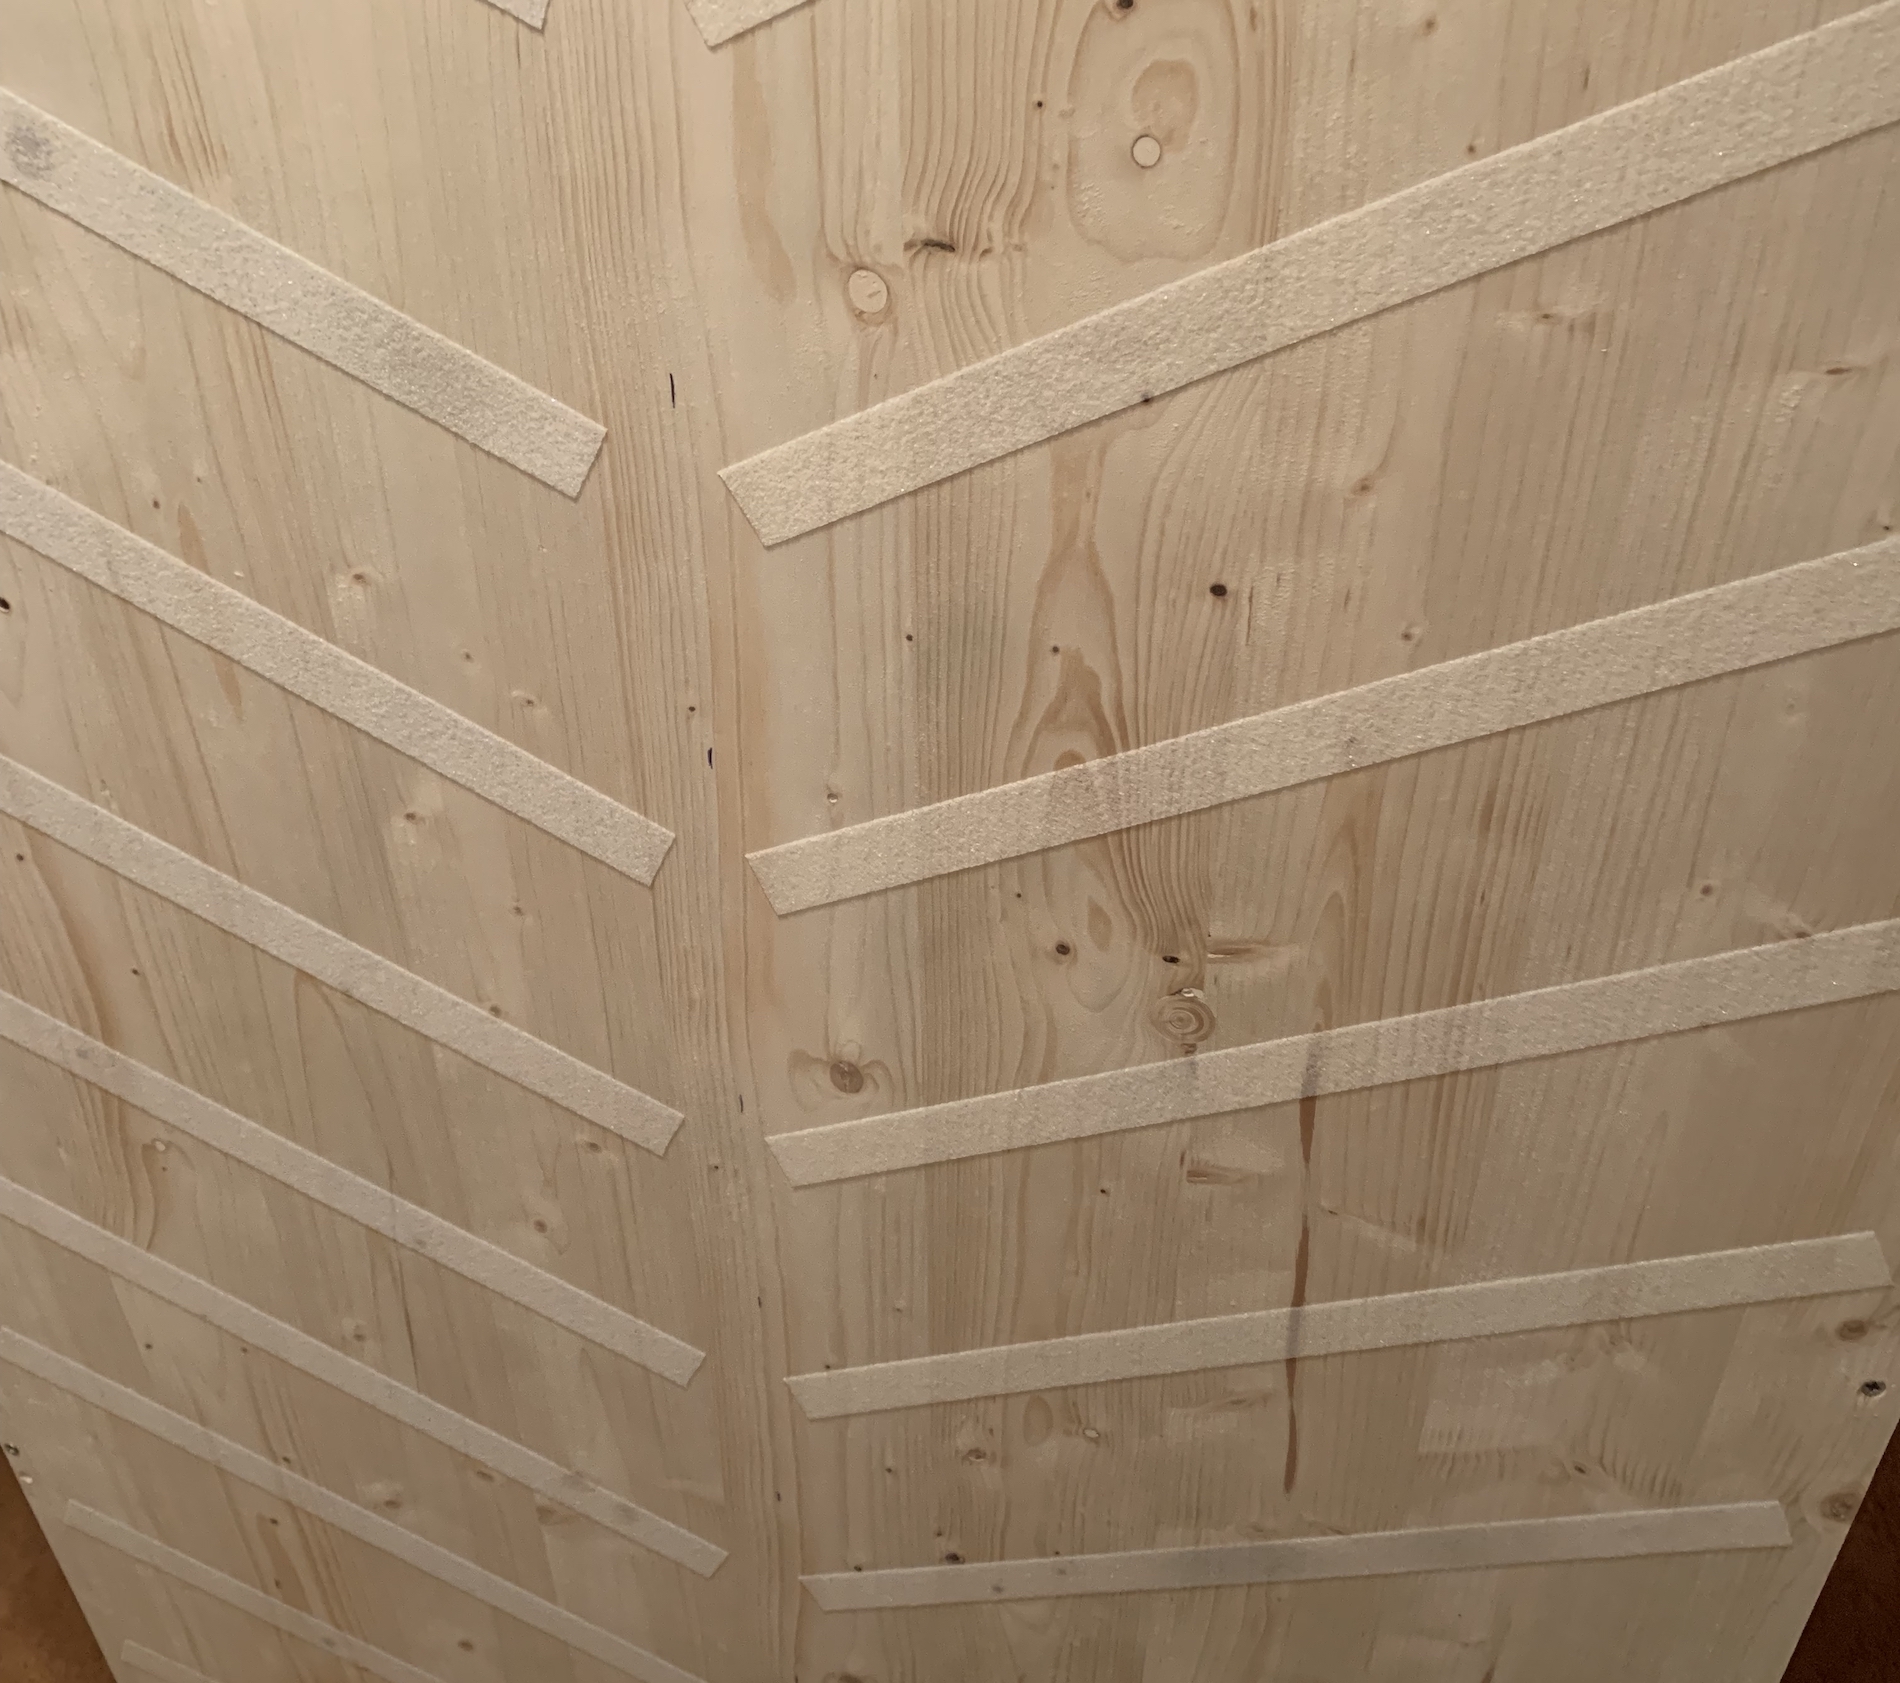
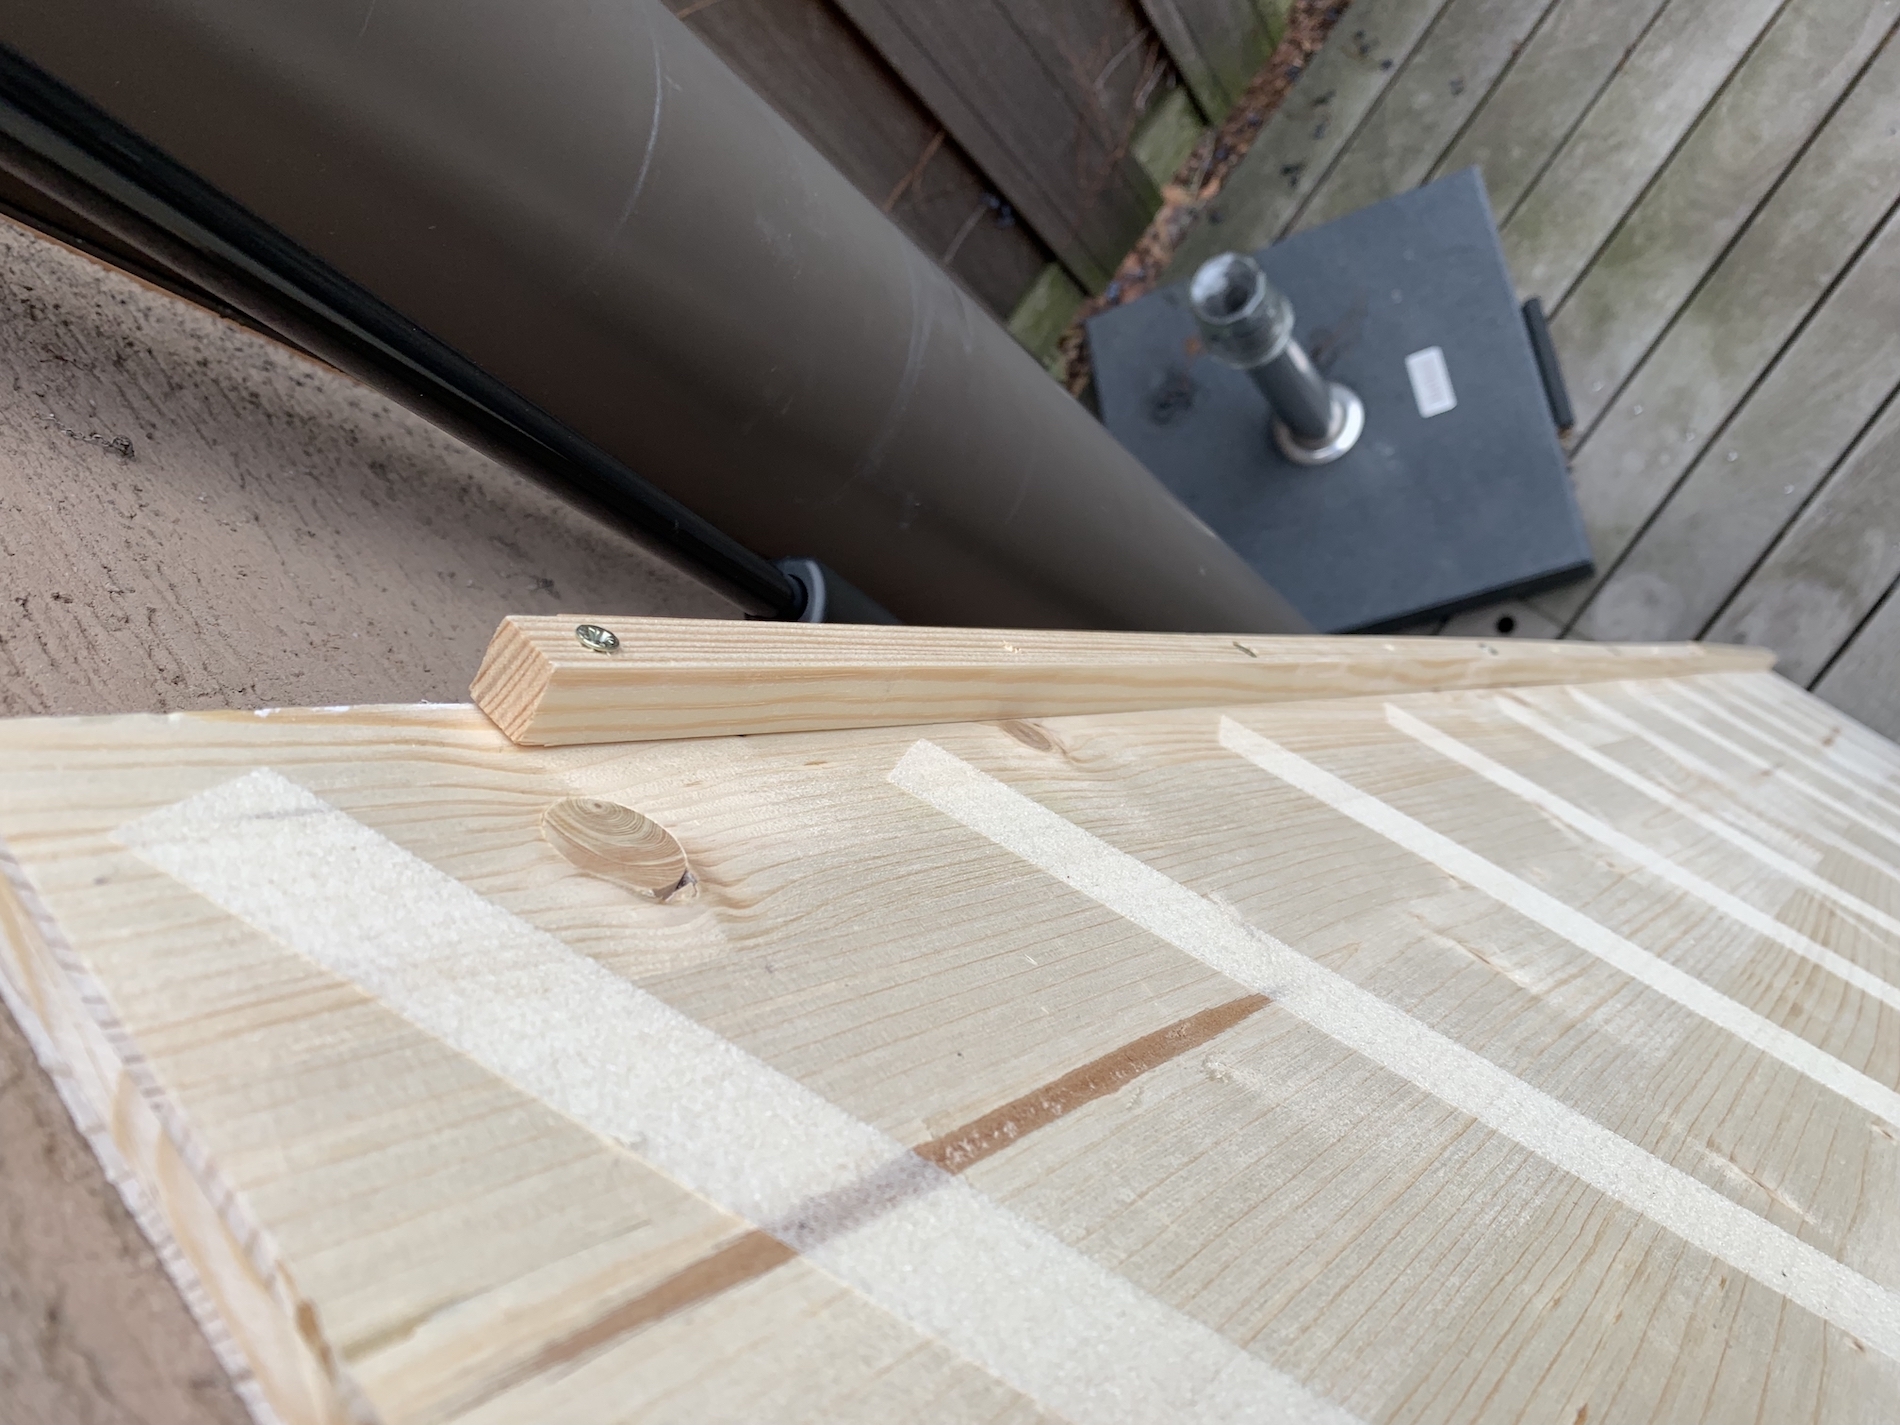
To improve the slip resistance I added self-adhesive grip tape.
Last but not least I mounted a small bar on the side of the ramp to keep the wheelchair wheels from sliding of the ramp.
That’s how the ramp and the step look like:
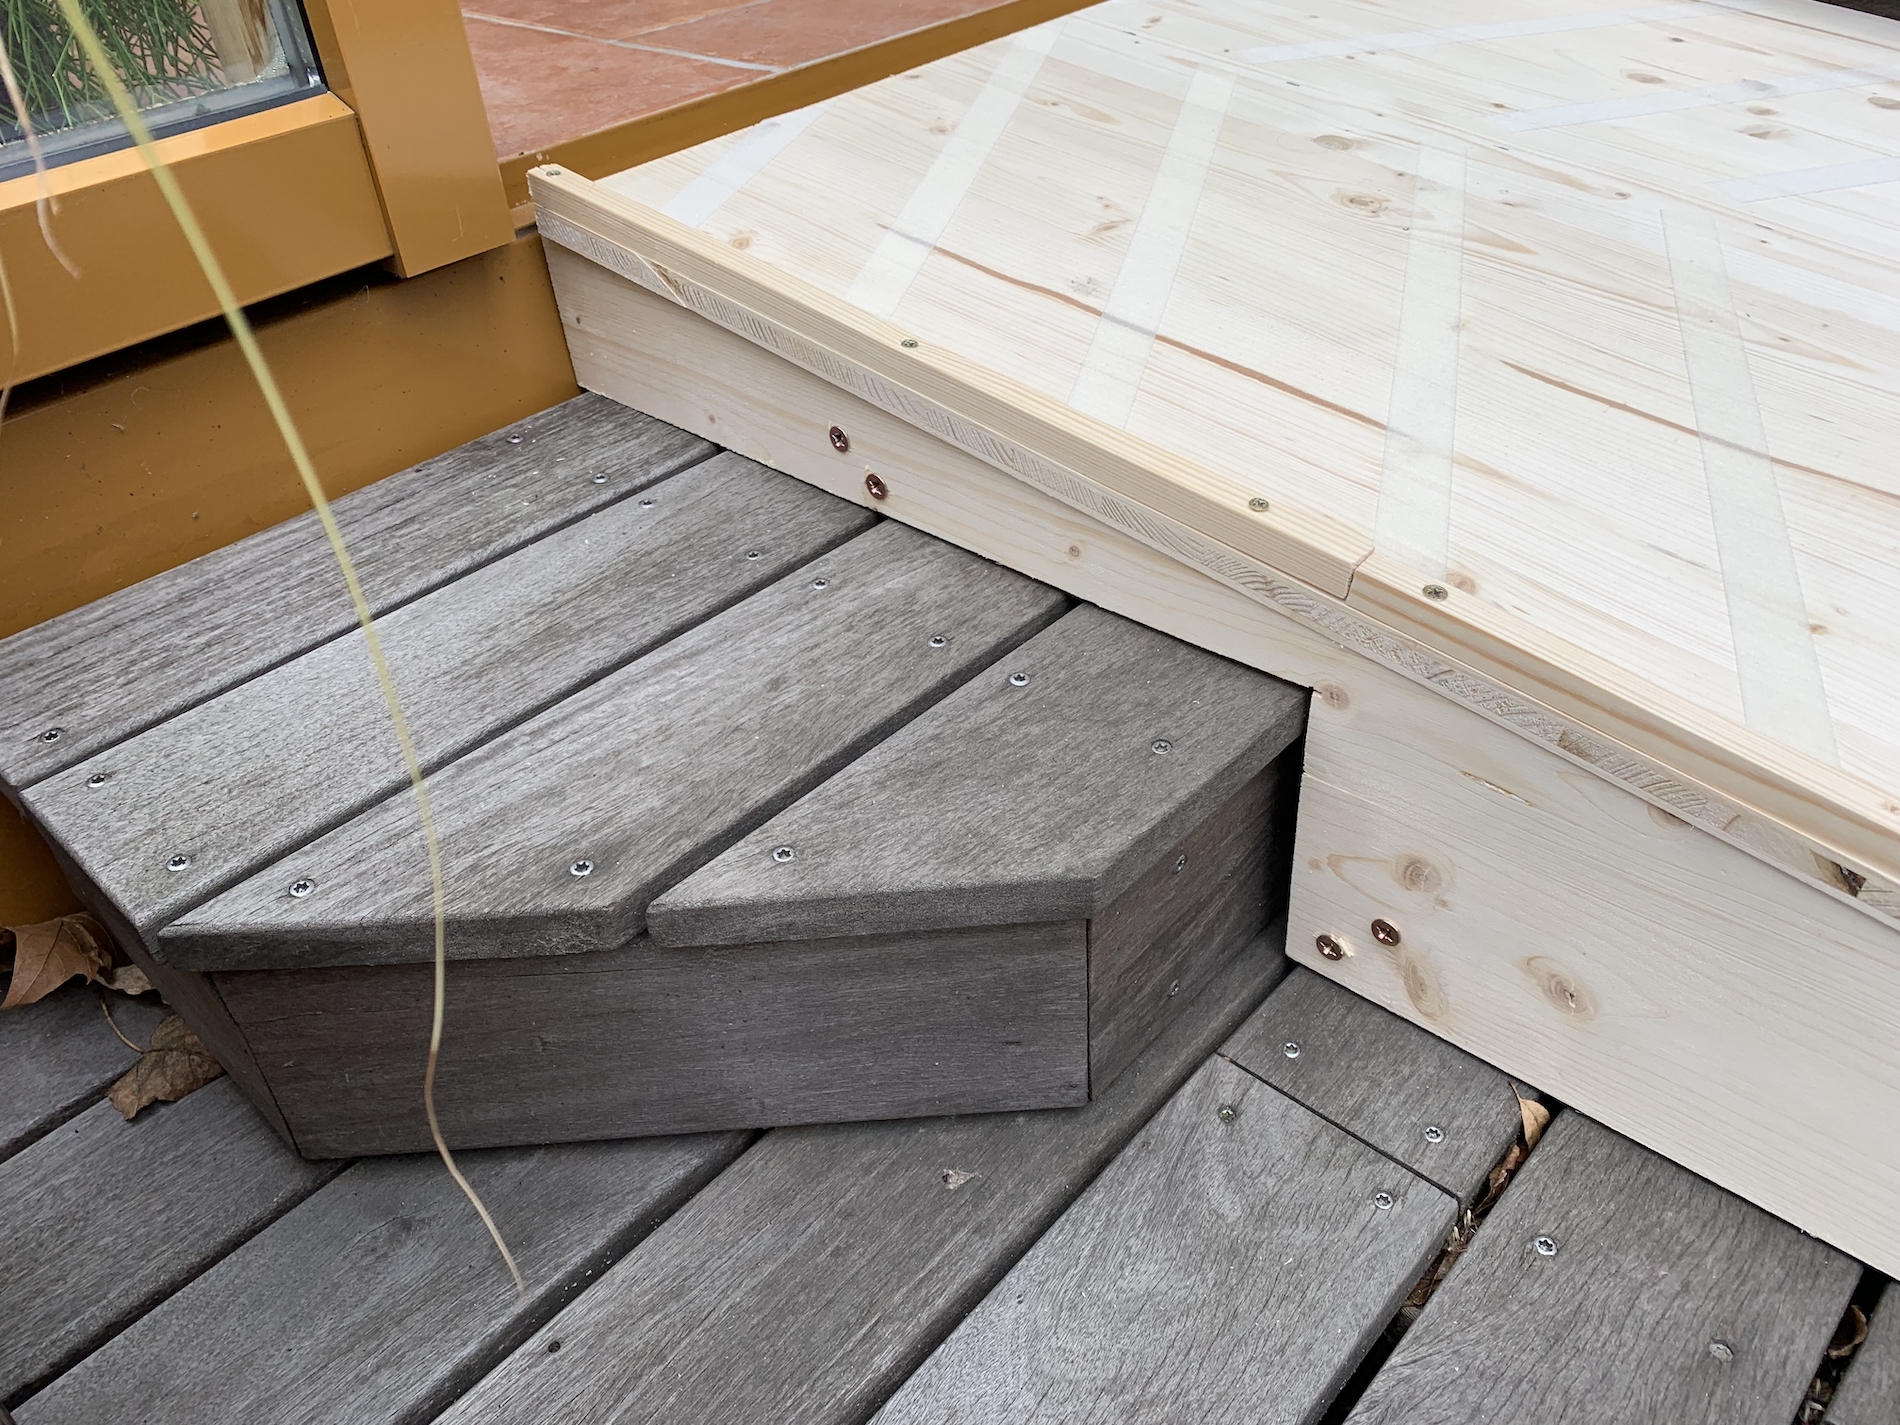
Et voilá:
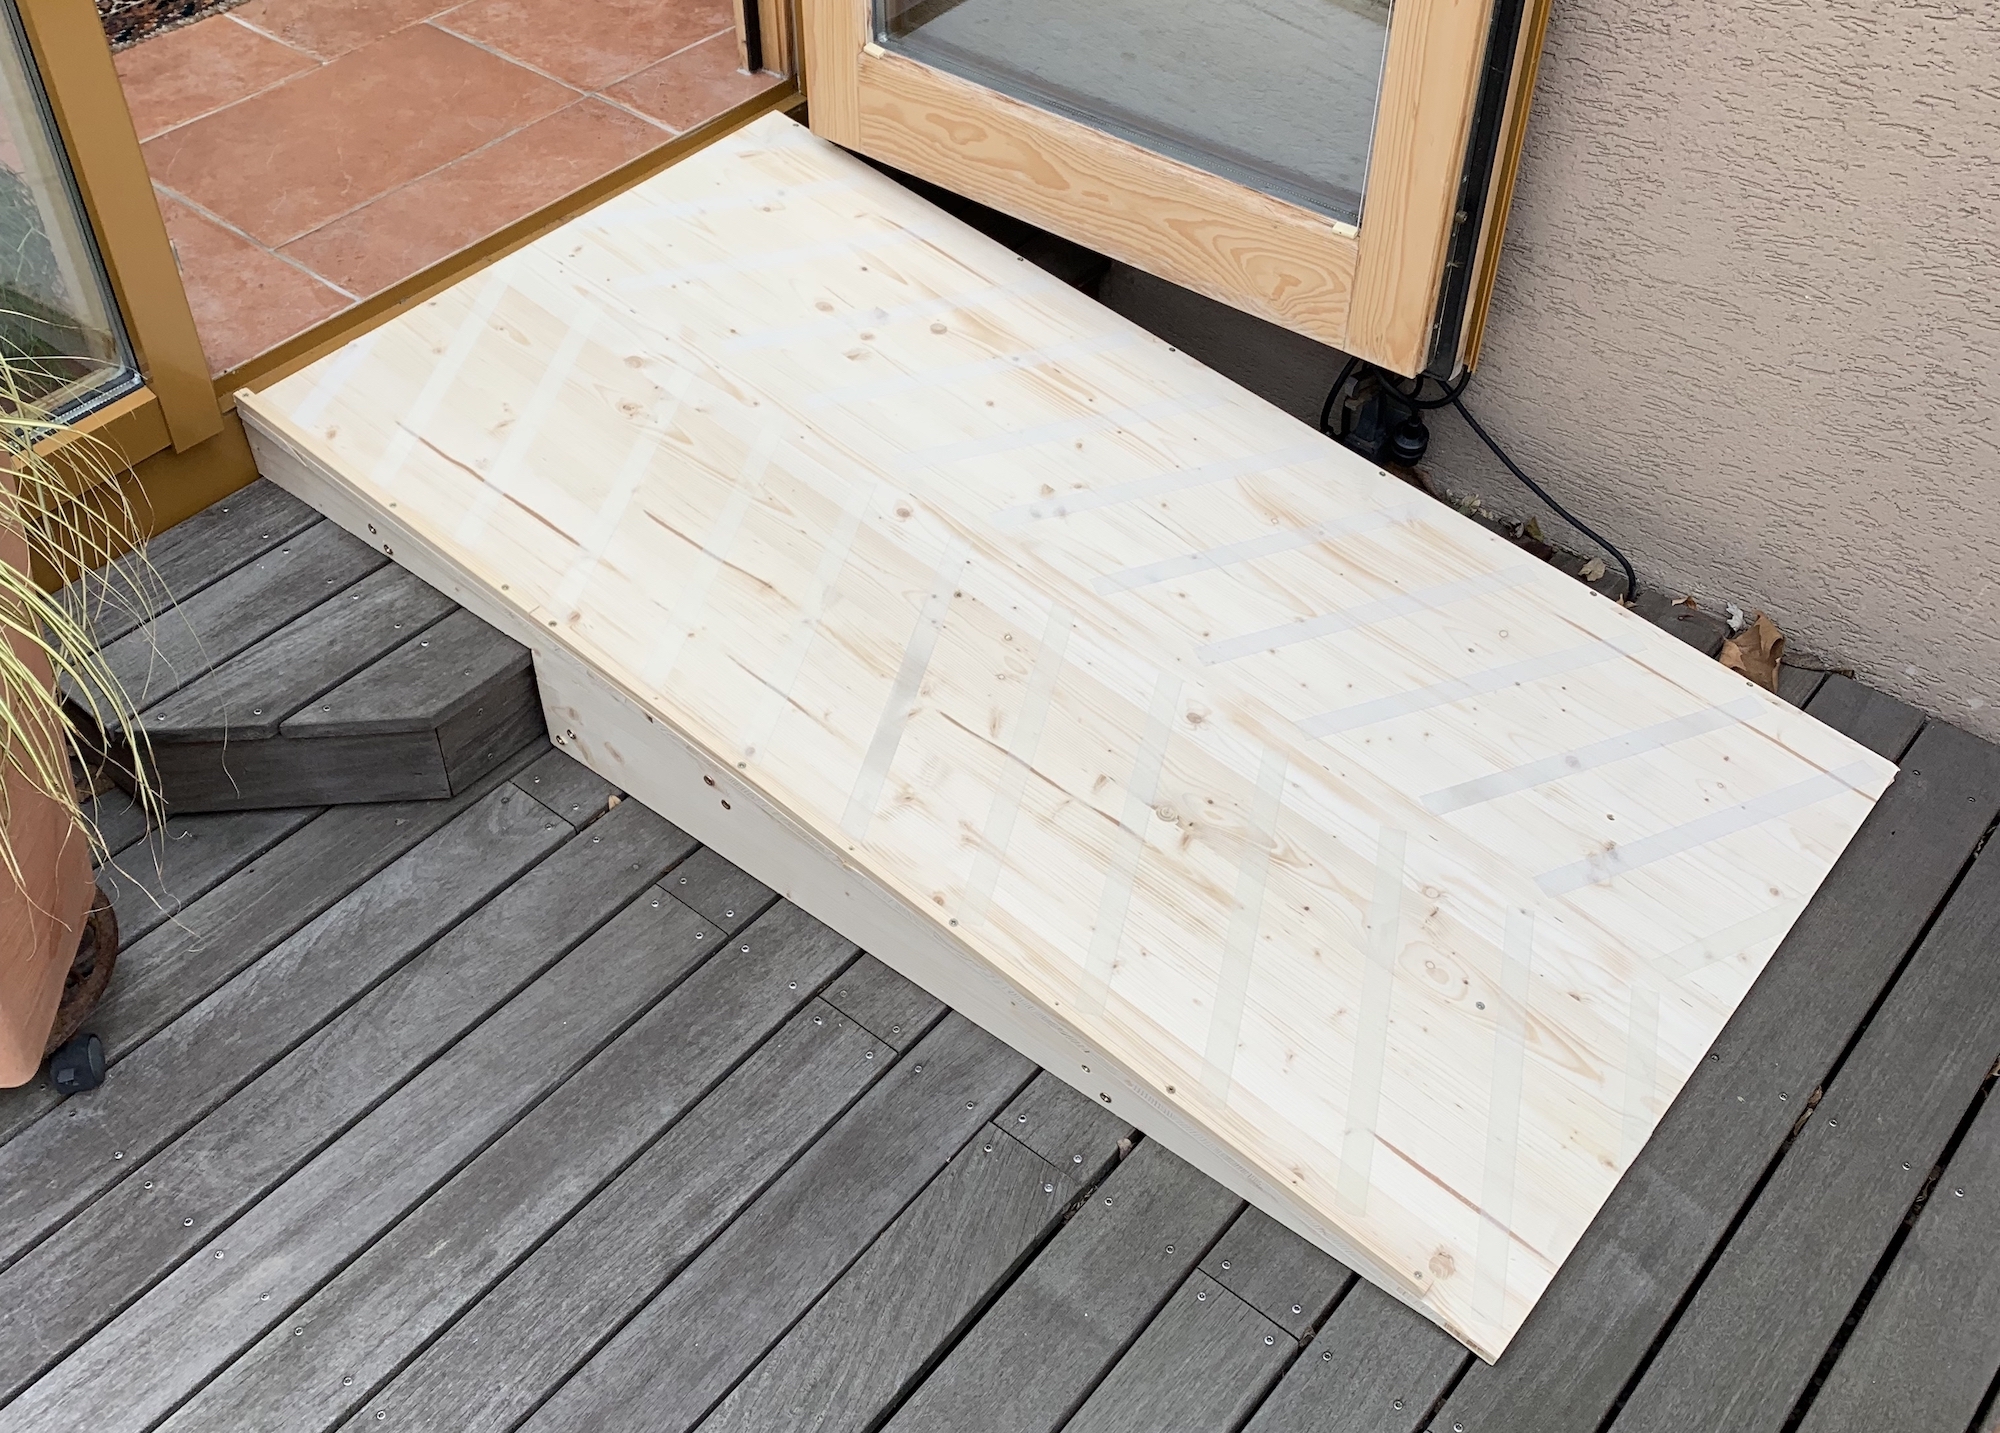
The only downside is that you can’t close the door as long the ramp is there (I have to admit: I only noticed that after I built it). But as it isn’t too heavy, it can be removed by one person easily.
Hard Facts
- Costs for materials for all three parts (wood, screws, brackets, etc.): ca. 200€
- Necessary tools: jigsaw, electric drill, ruler, pencil.
- Time needed: half a day.